Chimney rock - 7406' - east route class 5.5
the wickiup - 6982' - south side class 3
december 2020
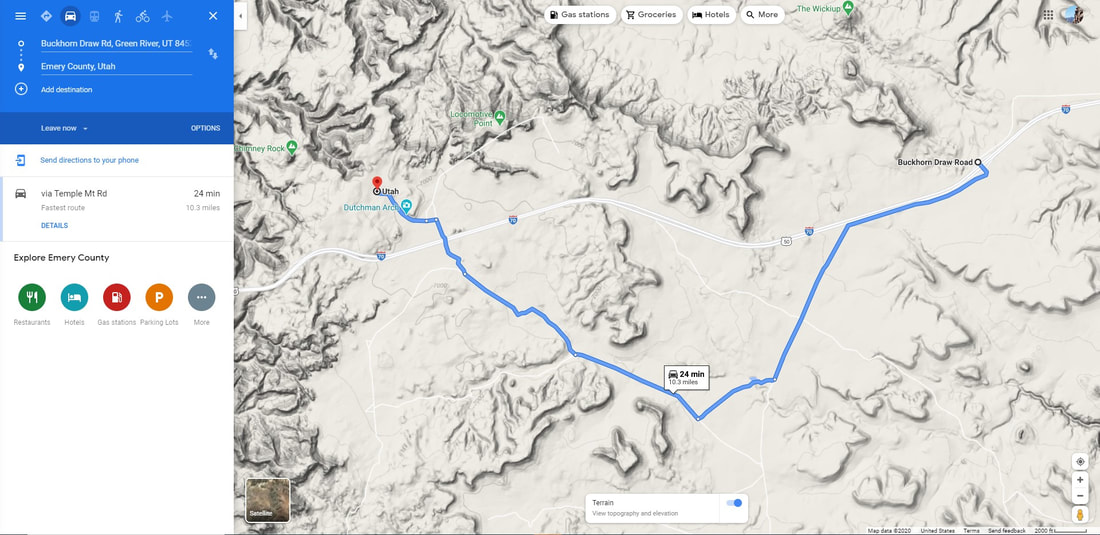
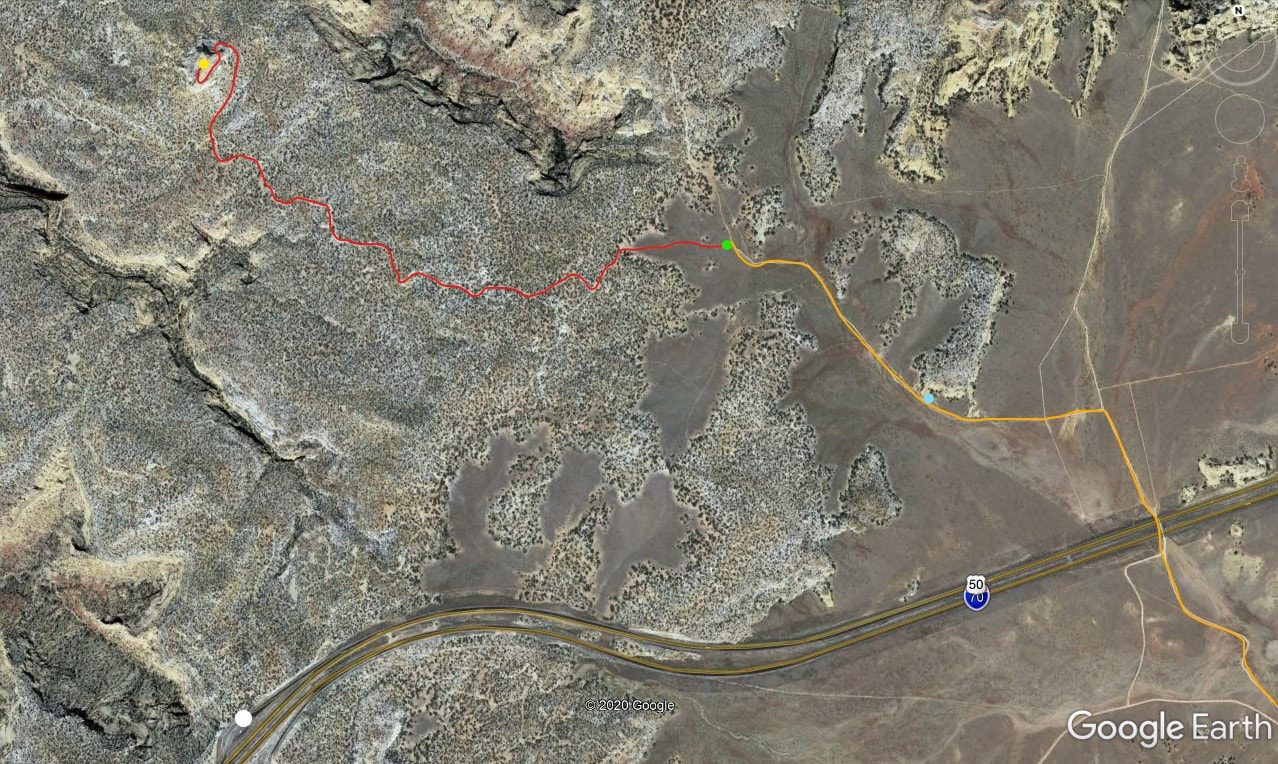
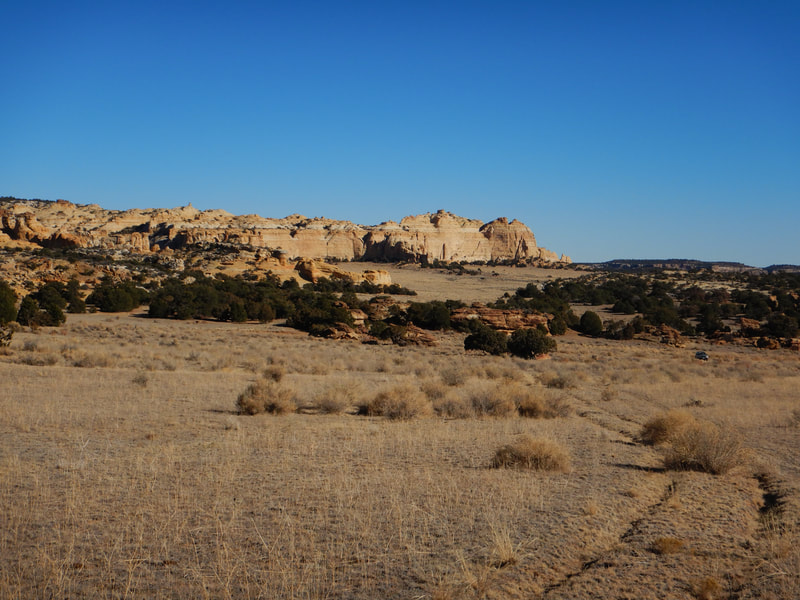
I was driving back to Denver from a weeklong work trip to northern Nevada and since it was a weekend I figured I would make a quick stop in the San Rafael Swell on the way back. I got a cheap motel in Price Utah and Scott answered my text and was interested to join me. We decided on climbing Chimney Rock and The Wickiup, two short peaks close to I-70 in the swell. I left my car at exit 131 and Scott and I went in his 4WD westward, following somewhat rough but sandy narrow roads. Since there is no other exit off I-70 in the heart of the swell, one must continue west and pass under the freeway a short ways southwest of Dutchman Arch, pass by the arch (marked with a blue dot on the map below), and park in a wide field where a now closed off old double track road takes off to the west (marked with a green dot on the map). These roads would be doable for tougher passenger cars with slightly above average clearance but no Charger is going to make it! Note it is also possible to just hike north from the Ghost Rock rest area off I-70 (marked with white dot on map), and this would definitely be the shortest route if you only have a really low clearance car.
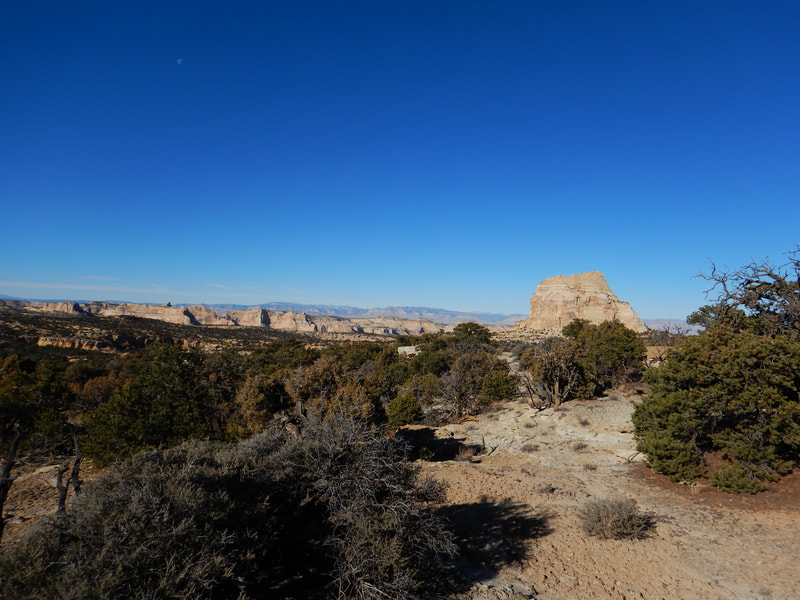
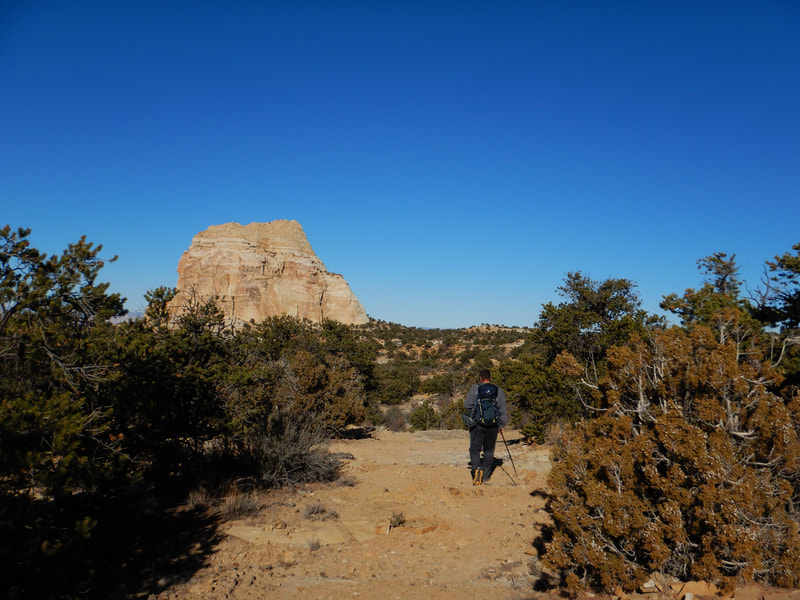
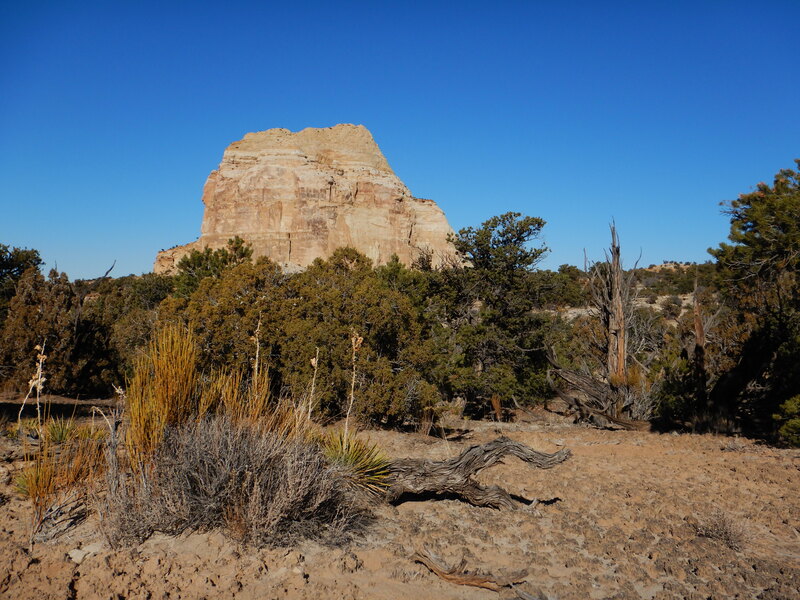
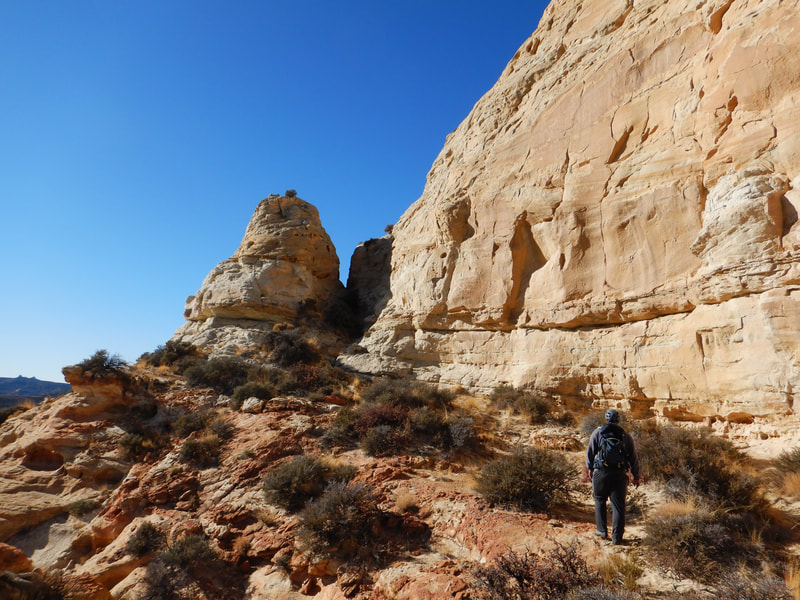
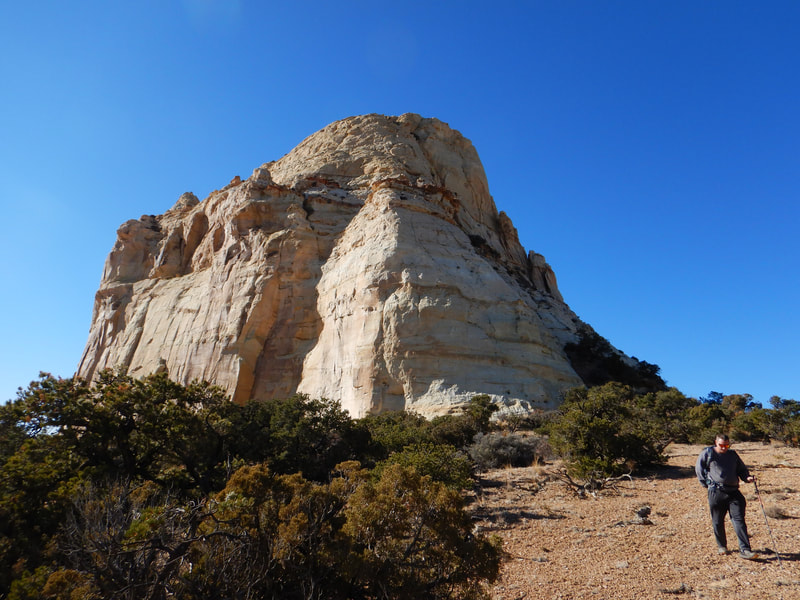
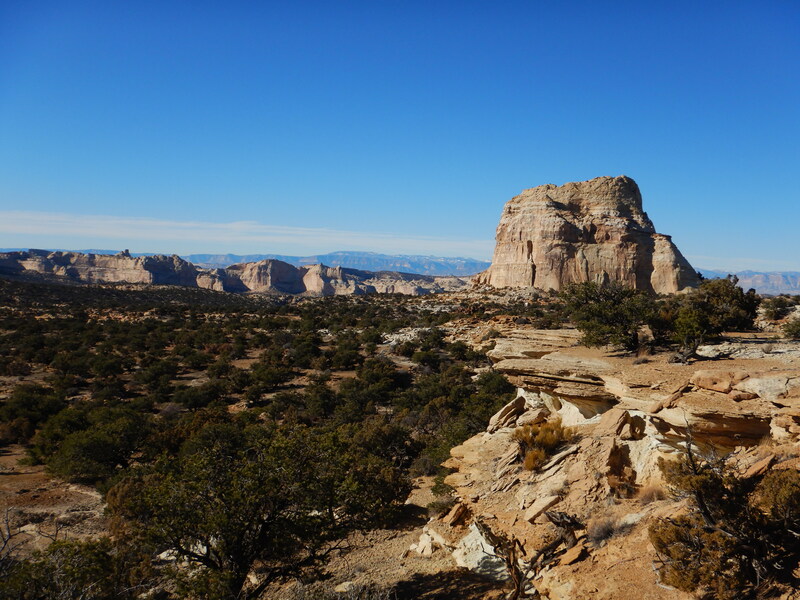
We started by walking west across the grassy field and entered scrubby juniper trees right where the road goes up a small but steep hill. A couple minutes later we turned right onto another road that is easy to miss, but is crucial to continuing the right way to Chimney Road. This road more or less weaves westward going up and down a few small hills before you reach a gentle highpoint where Chimney Rock comes into full view. The road then descends a bit and heads north for a few dozen yards nearing the base of the southwest edge of Chimney Rock. Right when the road curves sharply left and begins heading away from it, leave the road and continue cross country in a northeast direction aiming for the easternmost edge of the formation and walk around to the northeast side.
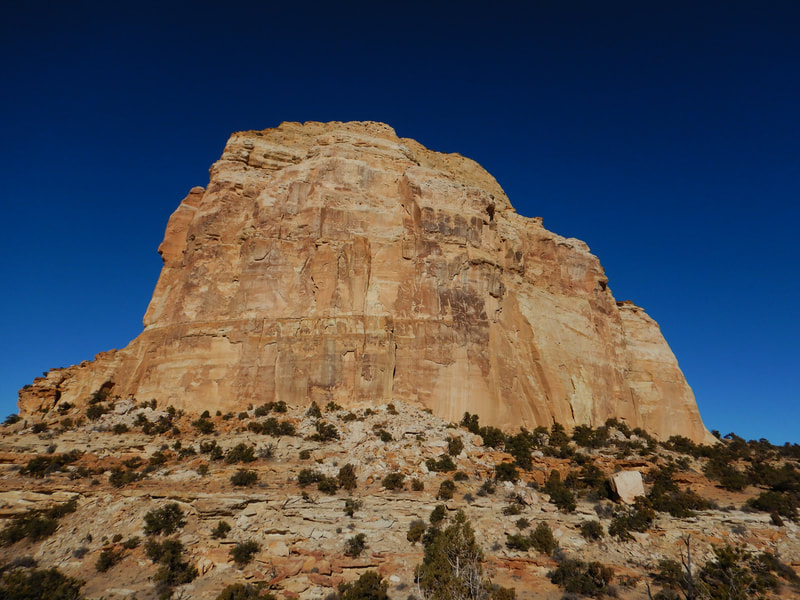
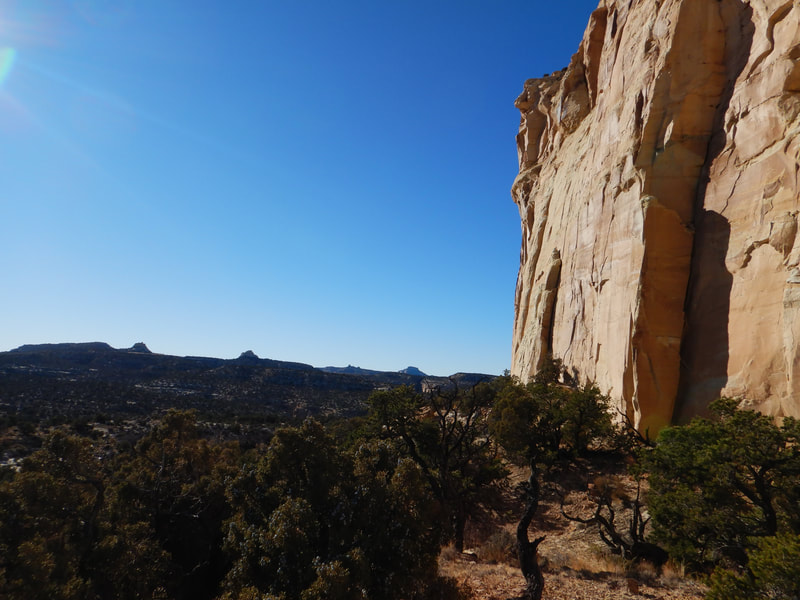
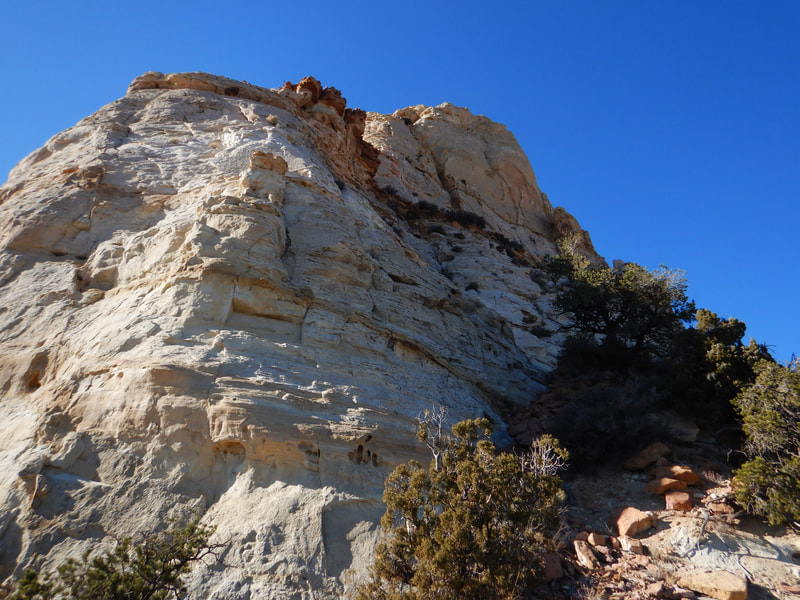
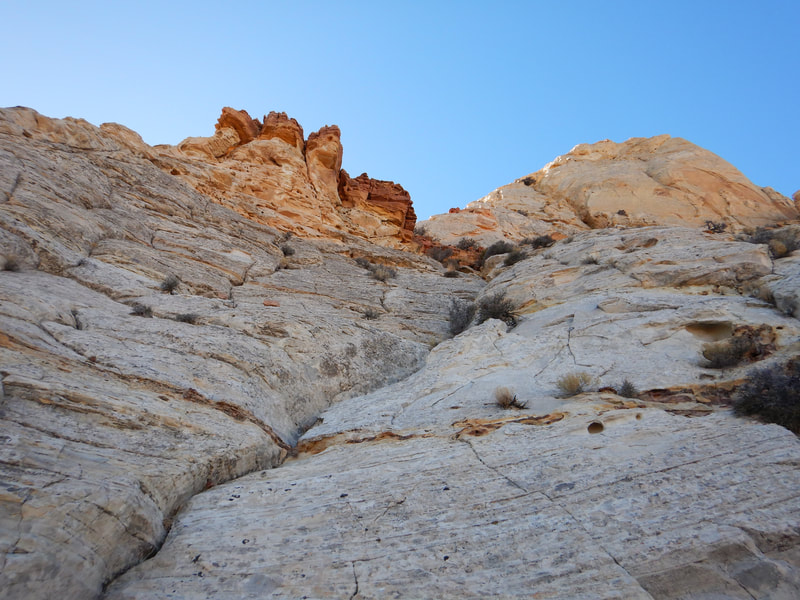
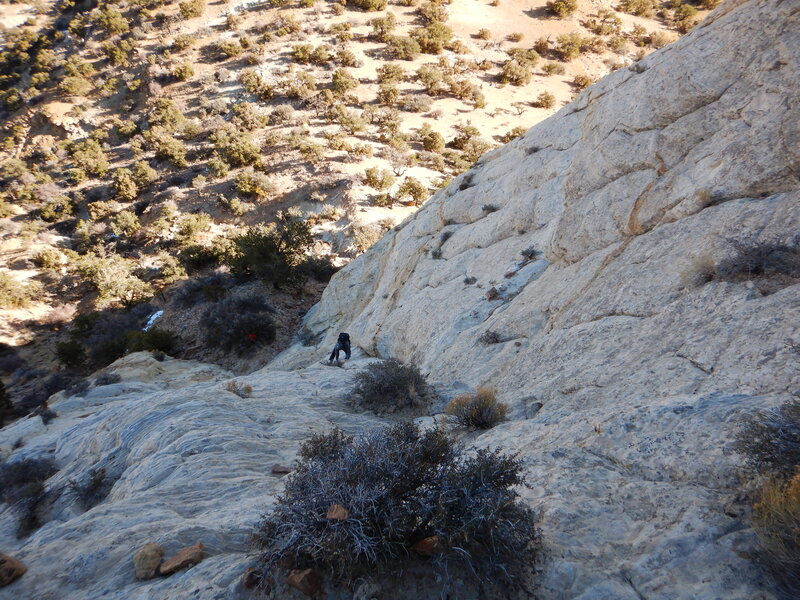
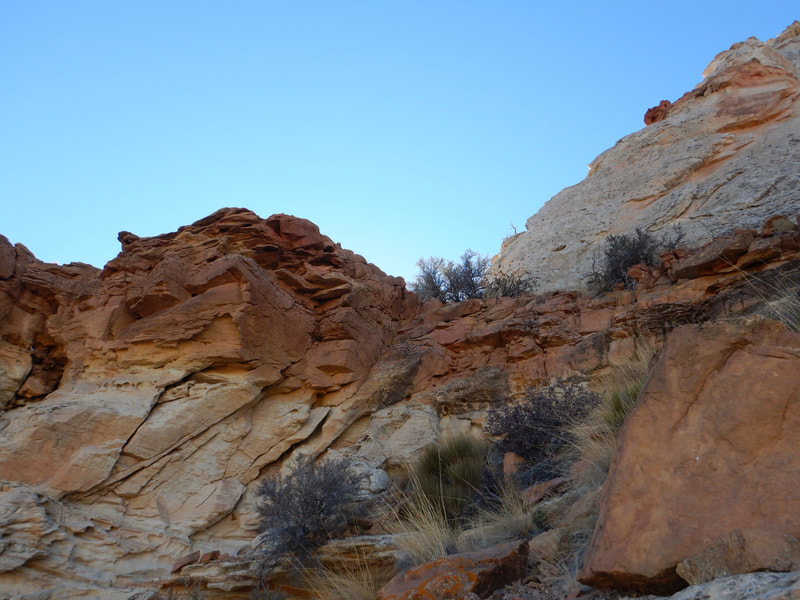
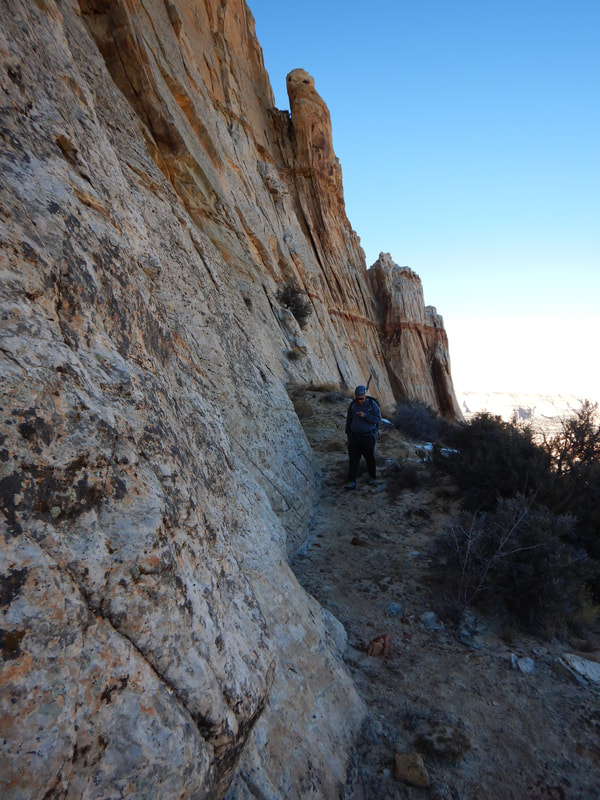
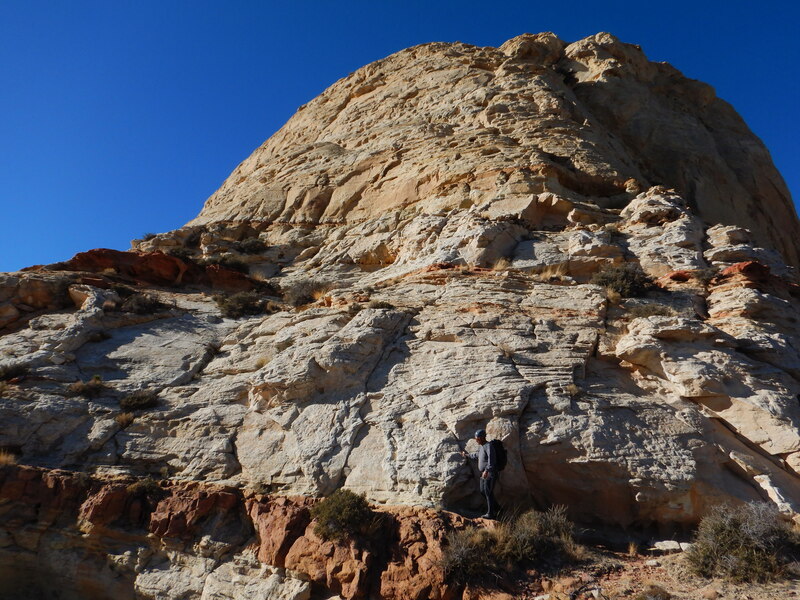
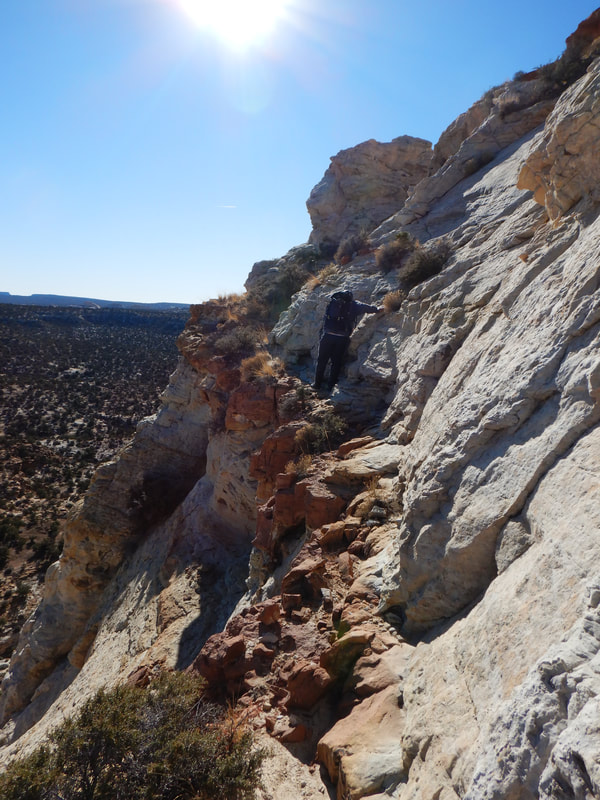
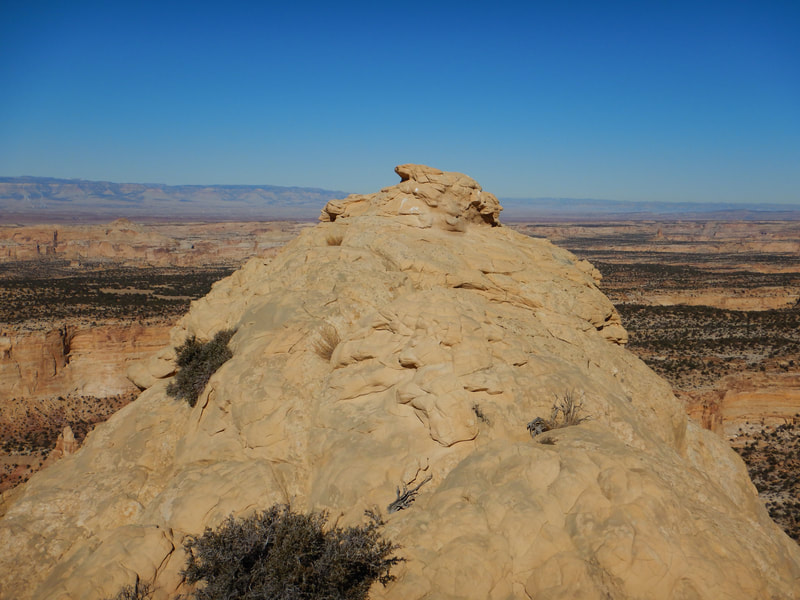
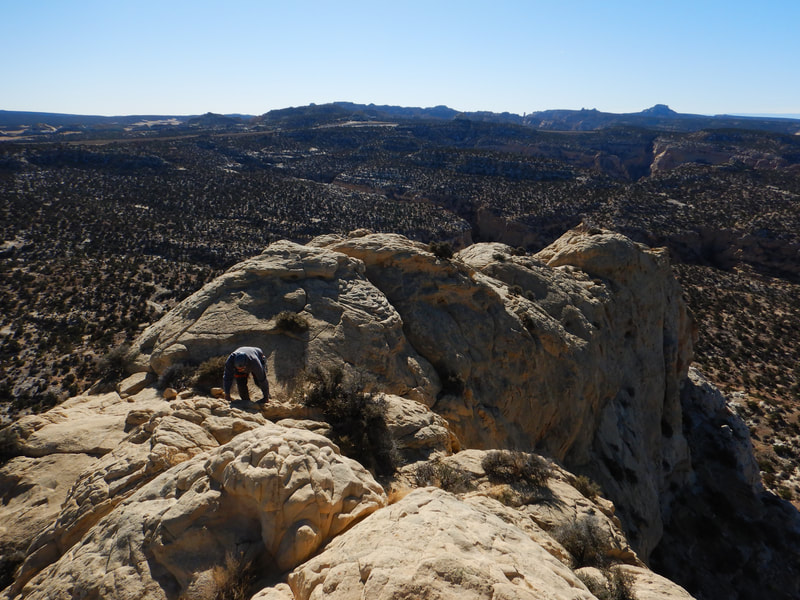
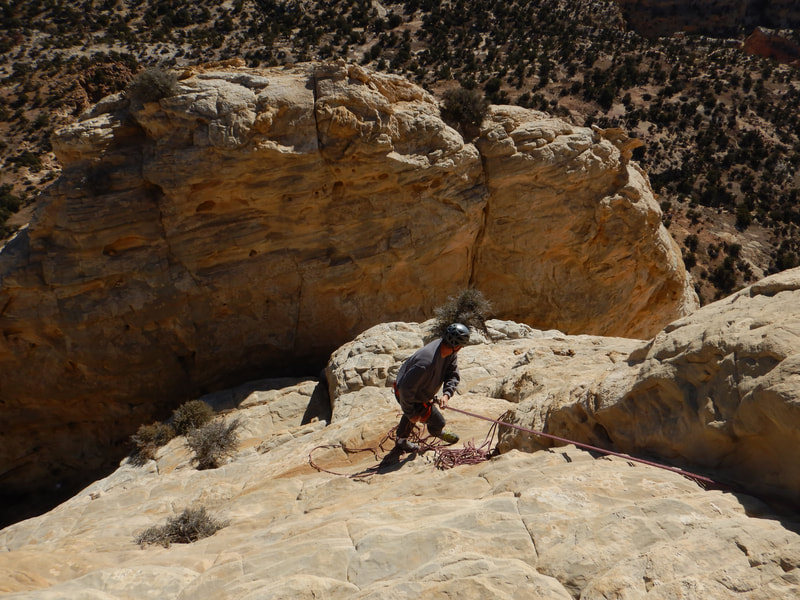
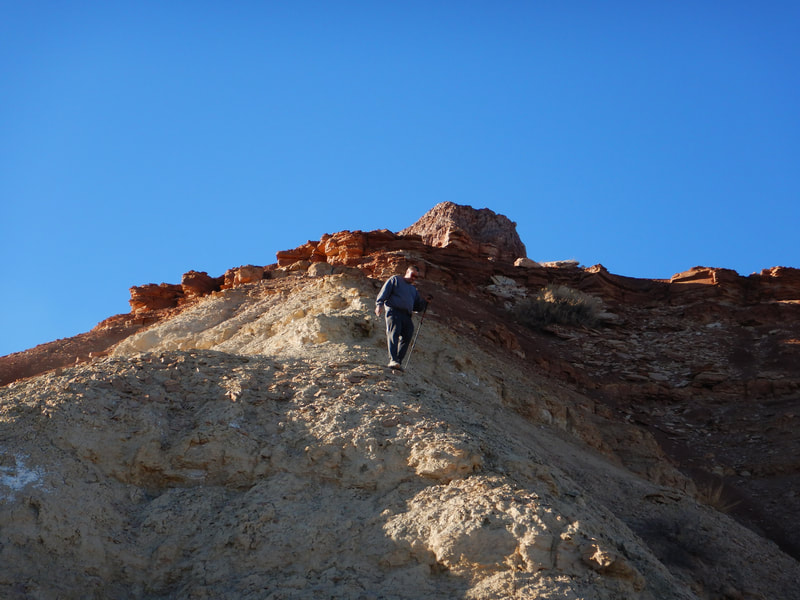
Ascend a short steep sandy slope at the base of the cliffs on the NE side until you find the lower angle class 3-4 slabs that can be climbed up to the big red ledge about 100 feet up. There are a handful of options here, but the difficulty will not exceed class 3+ if you find the easiest way. Once on the ledge (it's blatantly obvious) continue left, and walk back around to the south side, back into the sun and cross a 40 foot long section where the ledge narrows to about a foot wide. This spot is exposed but very easy. Once across, ascend a 25 foot high class 3 gully to emerge onto a very large flat bench. Continue southward across the sandy bench to the obvious notch just ahead. Once at the notch, I found the easiest and safest line by climbing up a short crack right from the notch proper using the wall on the other side from the crack to chinney up a ways, then transition fully into the crack. I got a bomber #1 cam in which was more than sufficient. This crux section is maybe 5.6 at most and only 15 feet tall or so. Once above this initial step above the notch the angle eases to 4th class (maybe 5.0) to the summit ridge, where we found multiple options for existing anchors. Two webbing anchors were found on stout bushes, but the better of them is higher up and to the left perhaps 22 meters above the notch in total. The anchor on the bush a bit lower and off to the right slightly looked sketch as it was perched over a steeper cliff. Don't bother with the more commonly known slab route that starts just before the notch...it's girtty, awkward, and unprotectable...where a fall will certainly not be deadly but will hurt! Do the crack found right at the notch unless you like the extra spice.
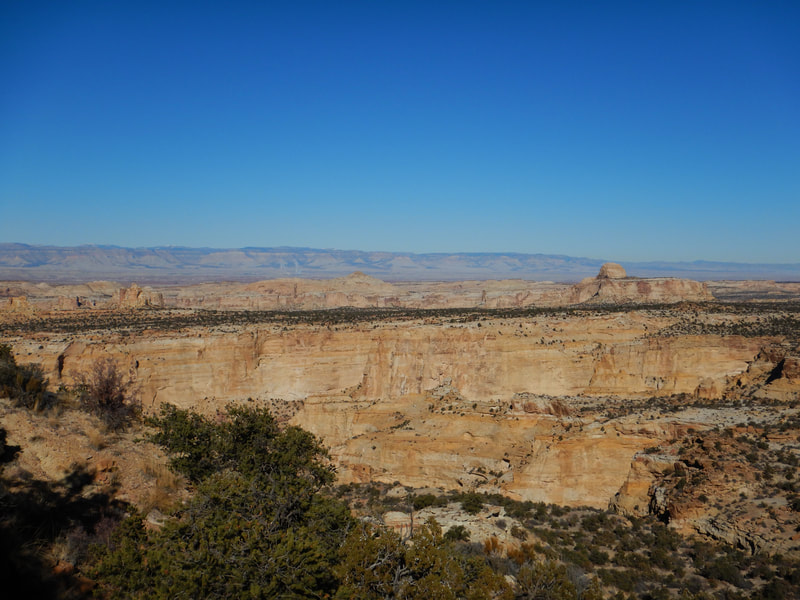
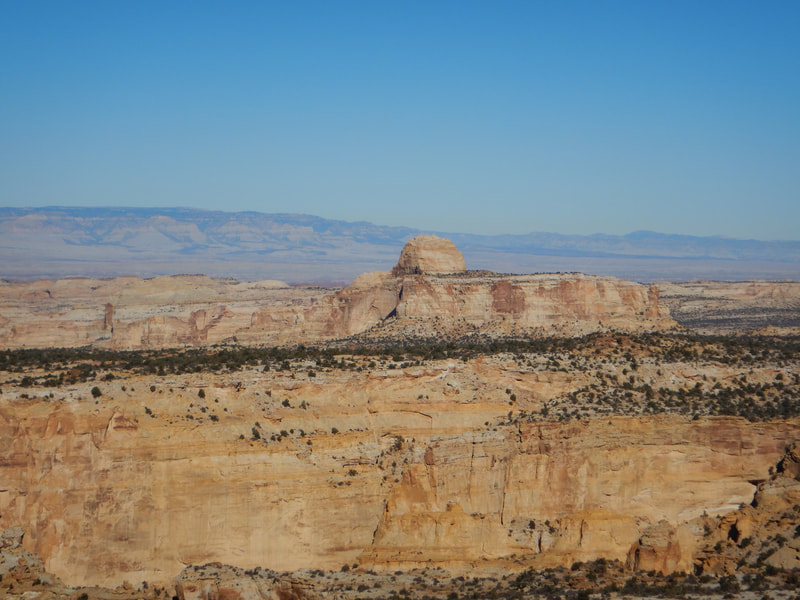
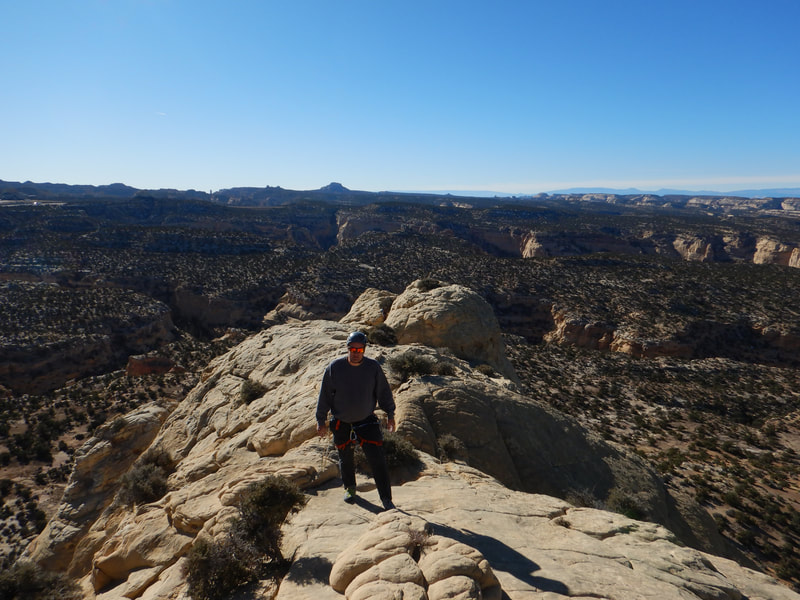
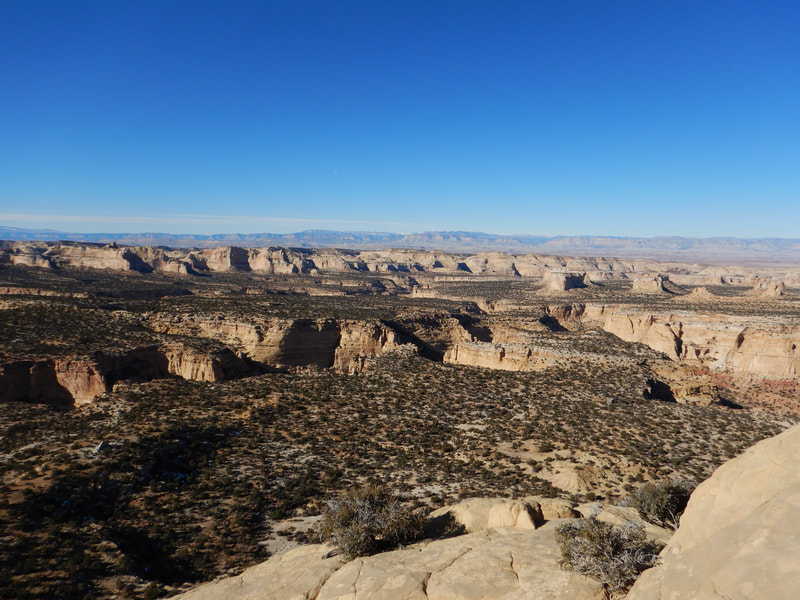
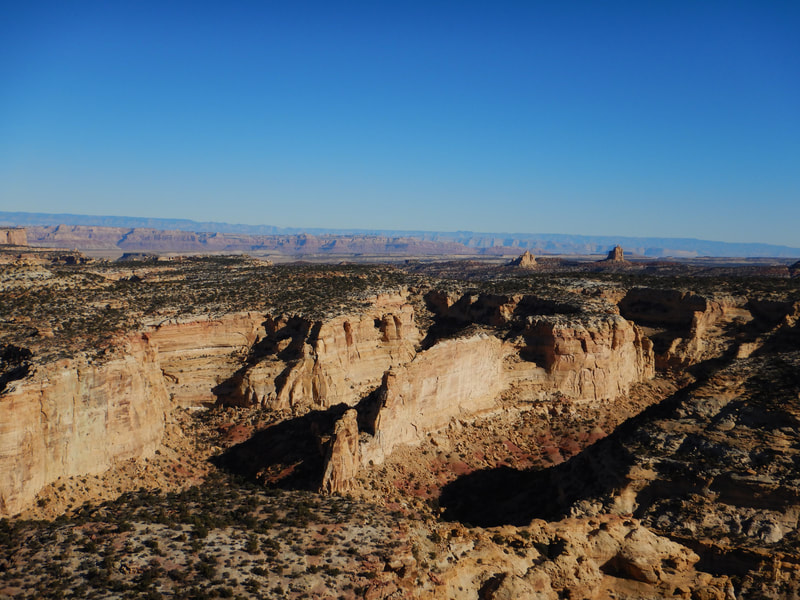
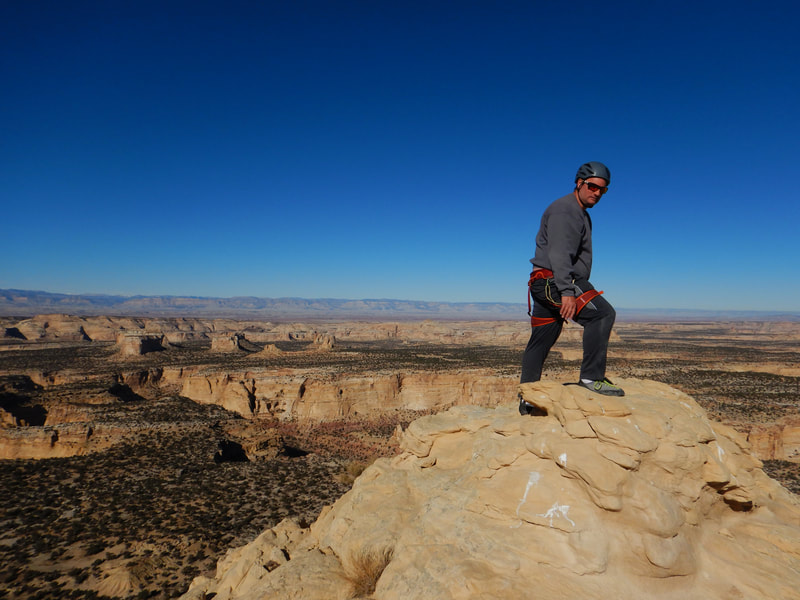
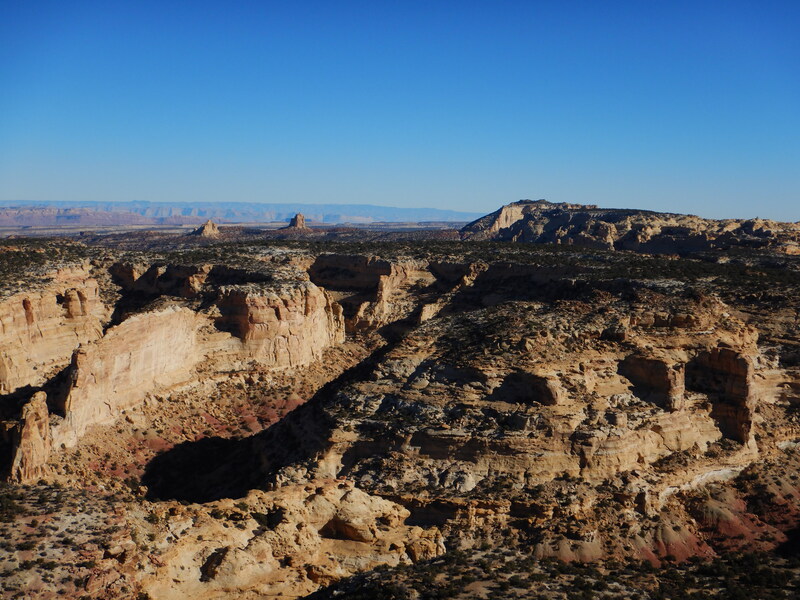
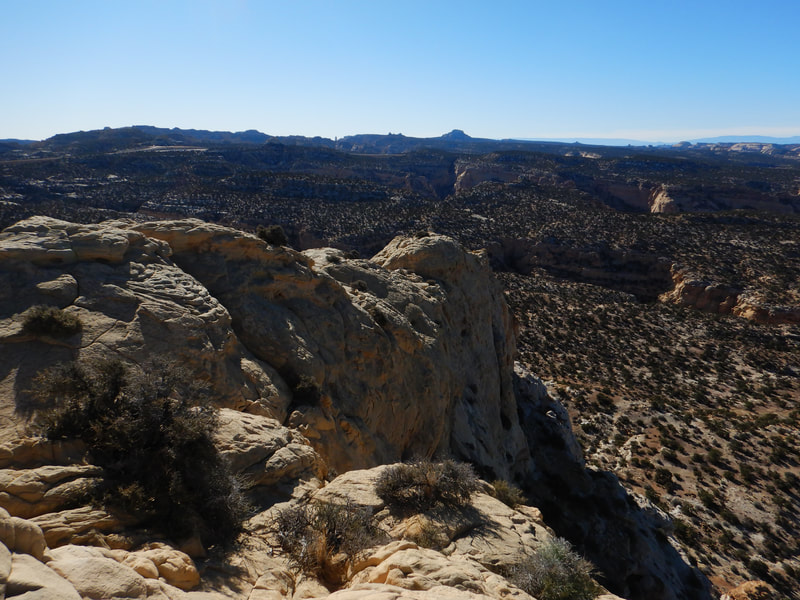
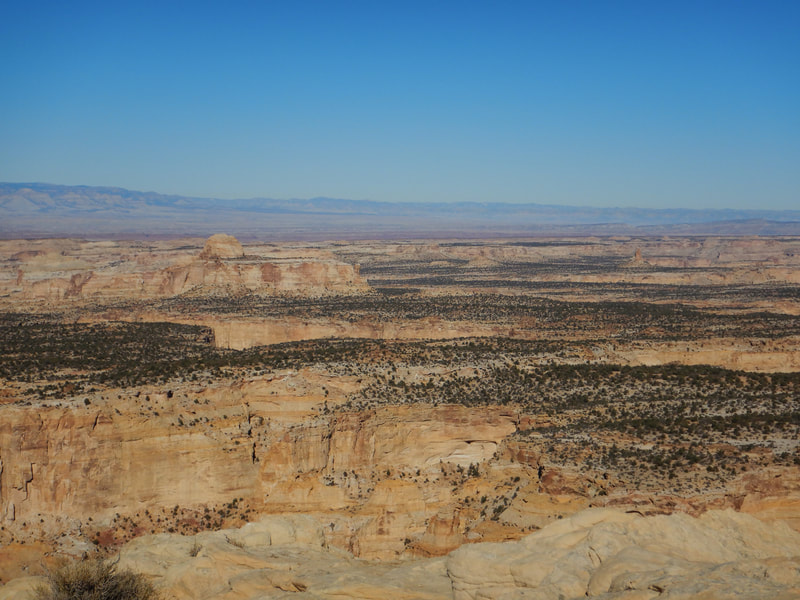
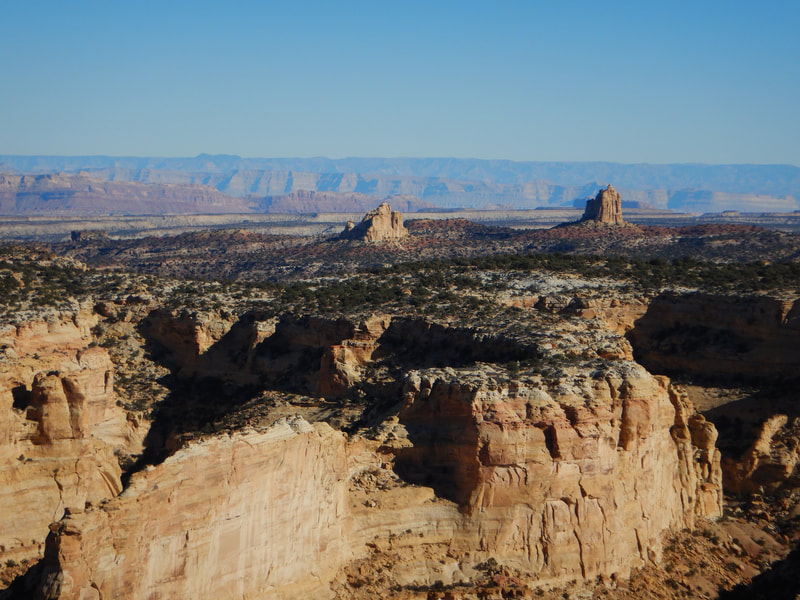
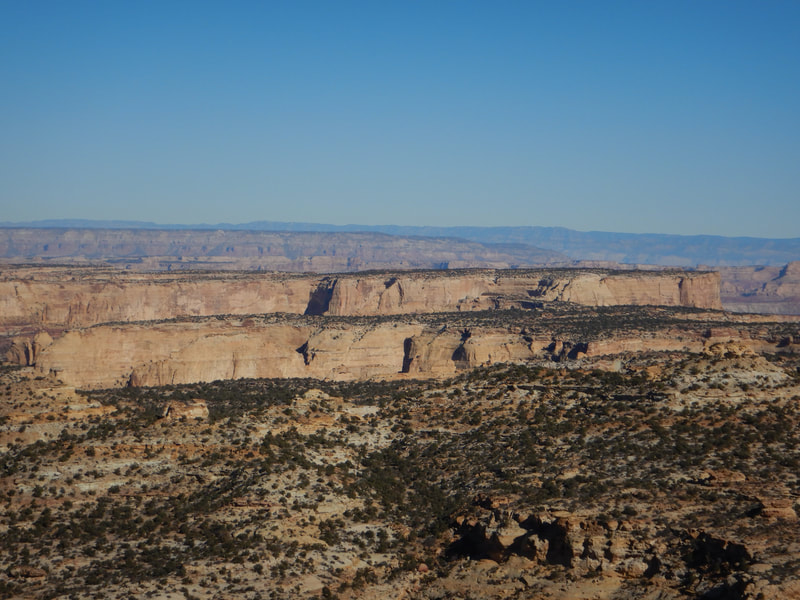
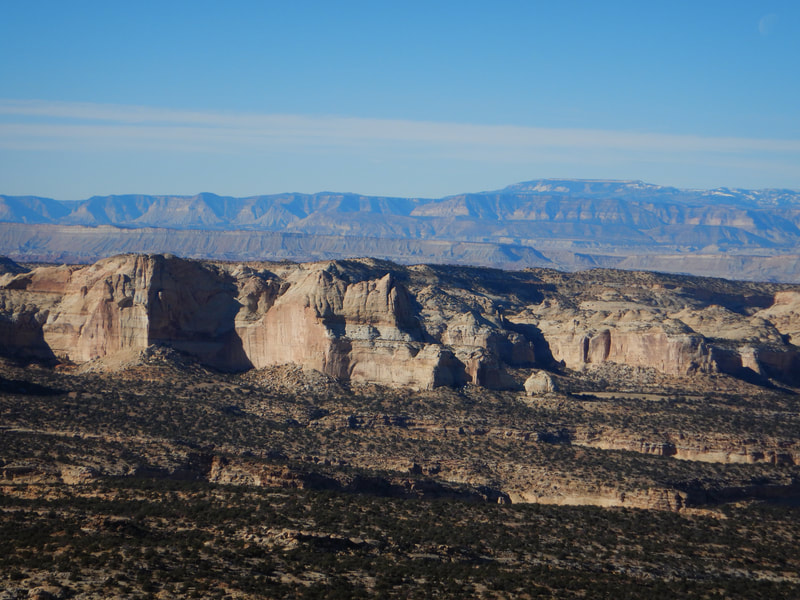
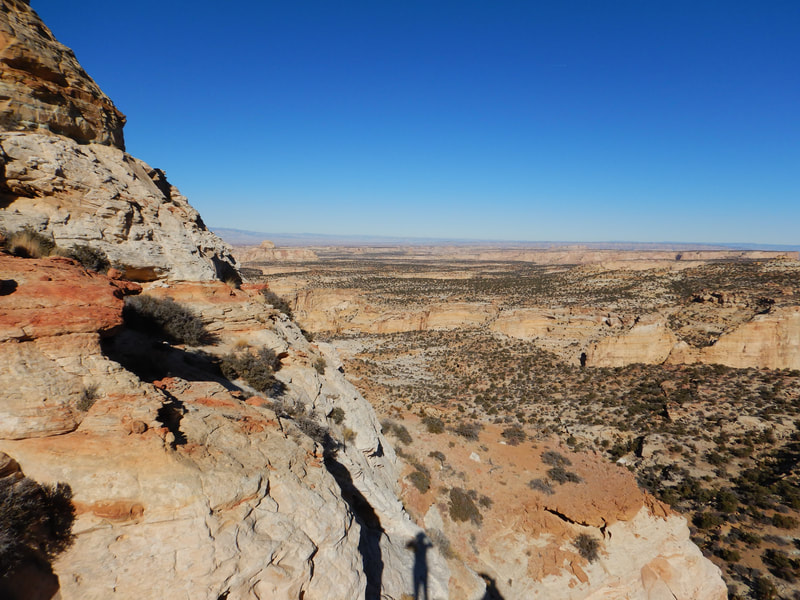
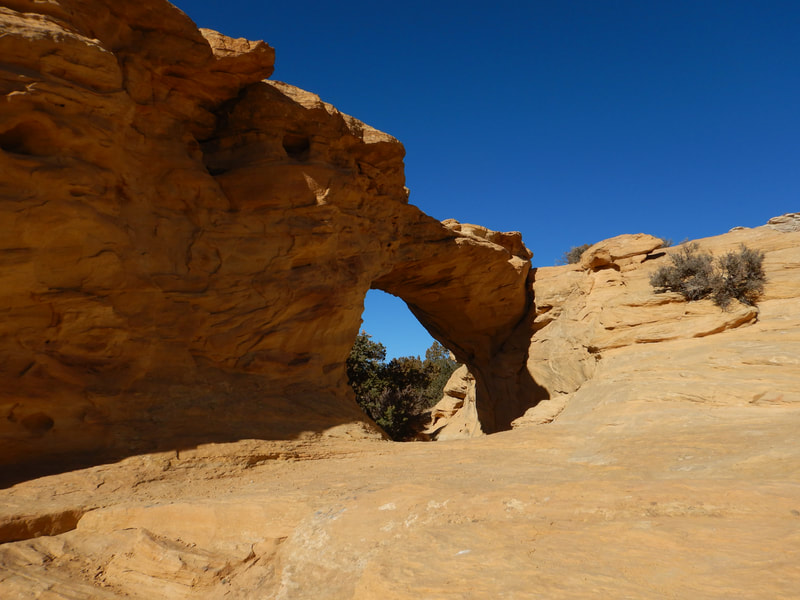
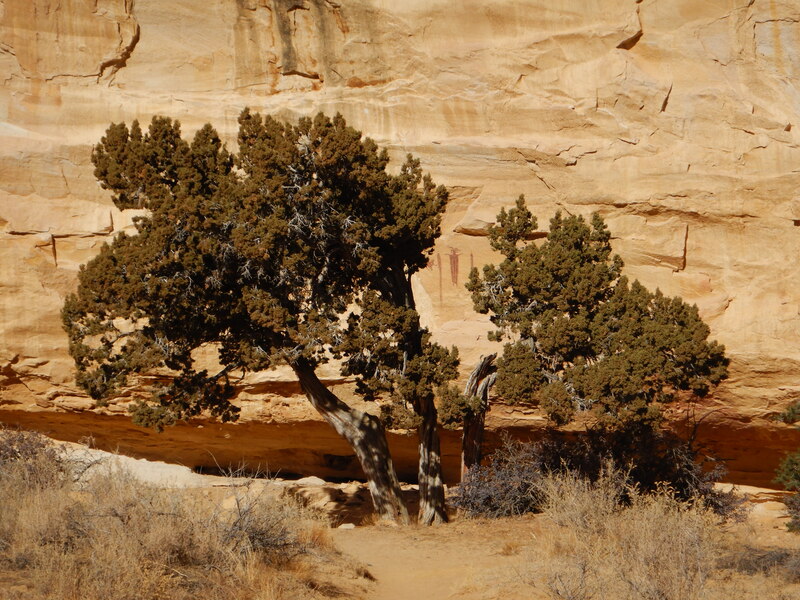
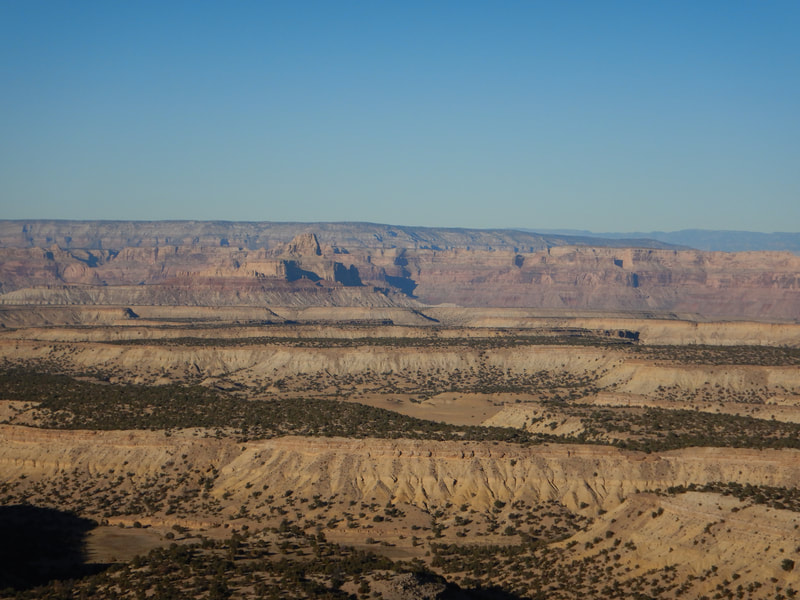
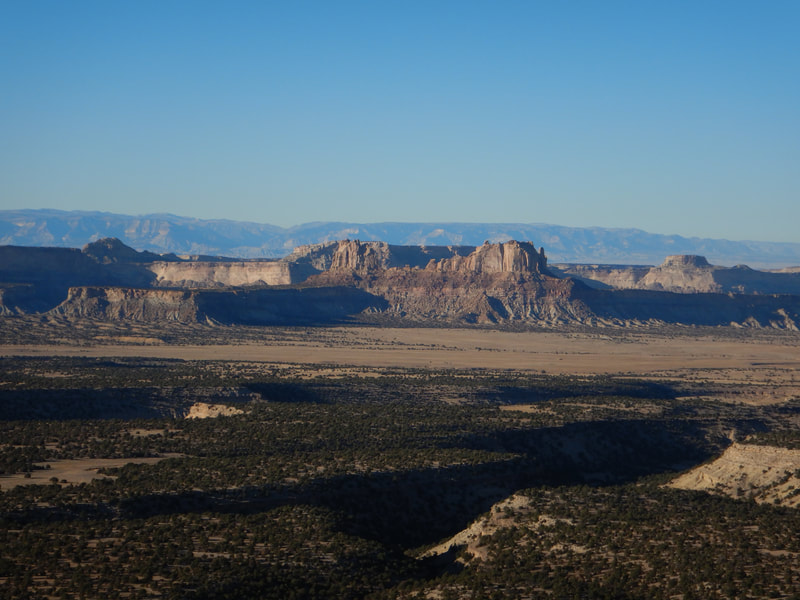
Once on the summit ridge we ditched the rope and made the easy walk to the highest point. It took us less than 2 hours to reach the summit from the parking spot at a very leisurly pace. The views were amazing and the entire core of the swell was visible. Scott recognized many of the visible peaks which was good since I was not super familiar with this part of the swell. We were able to make a single rope rappel from the same stout bush I belayed Scott up from, and he placed another sling around it (removing an old one along with it). Maybe it's worth noting that if you read Road Trip Ryans beta for this climb, he says there isn't any anchors available and to body belay people down...this is not necessary, as there were at least two existing rap anchors. The hike back was quick and we still had plenty of time to make a quick run up the Wickiup. Along the way though we made a quick stop at Dutchman Arch since it was literally on the side of the road, and also found the Head of Sinbad pictograph panel.
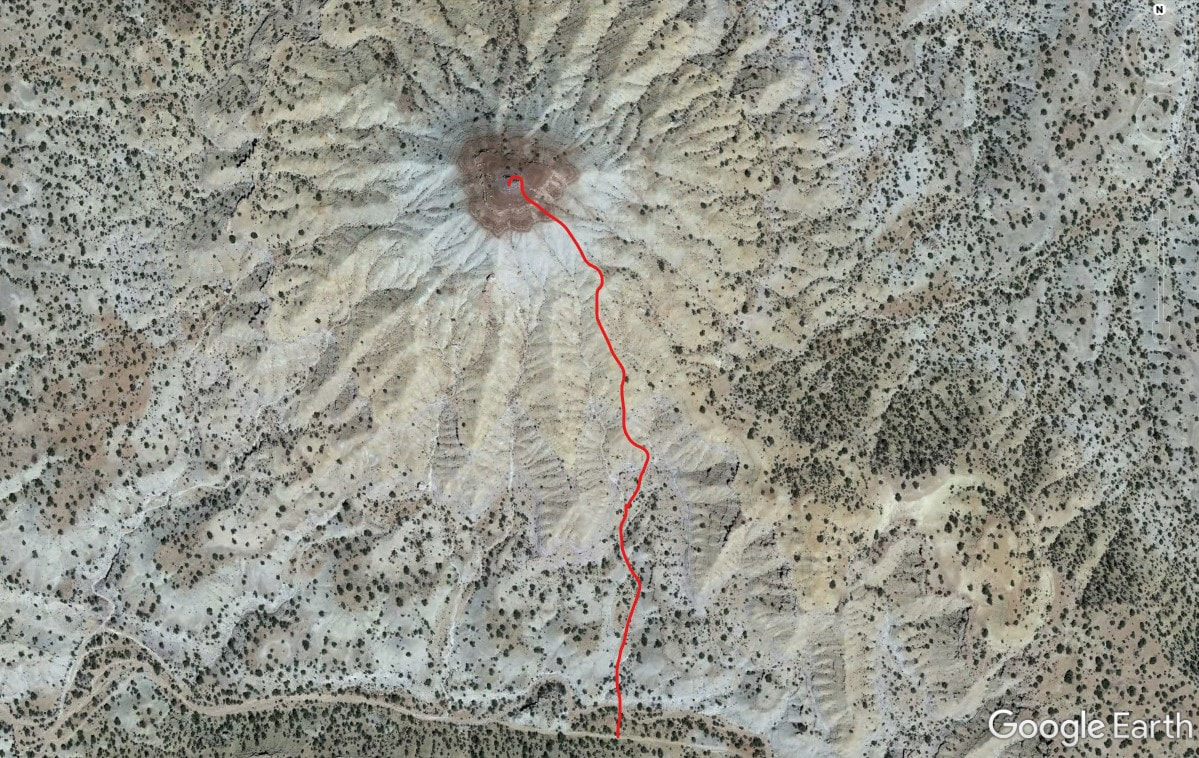
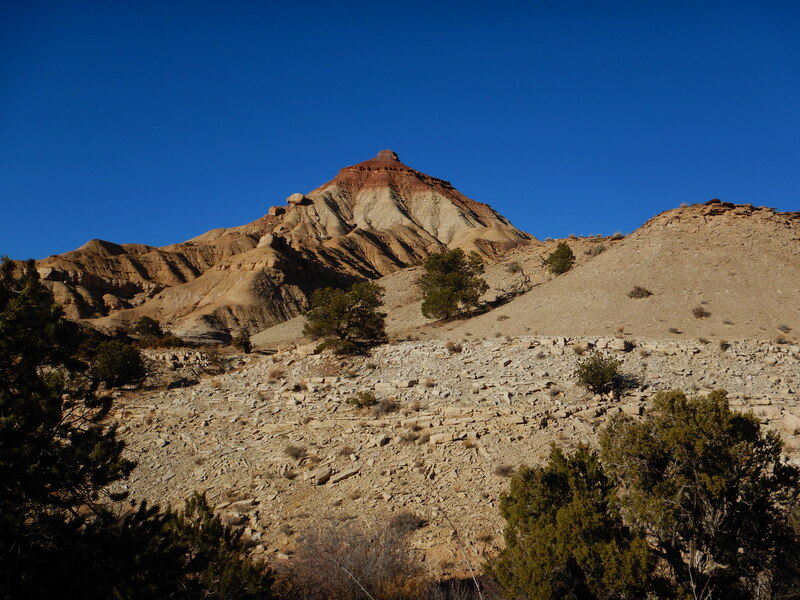
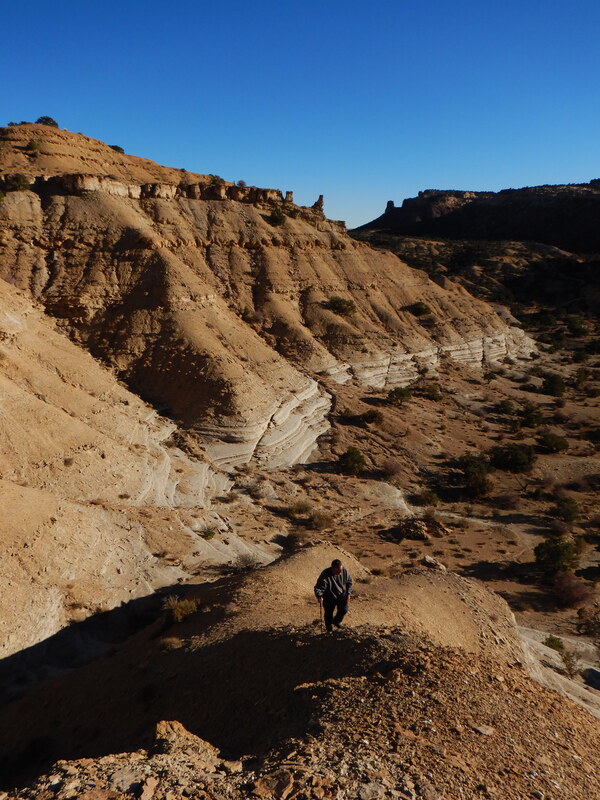
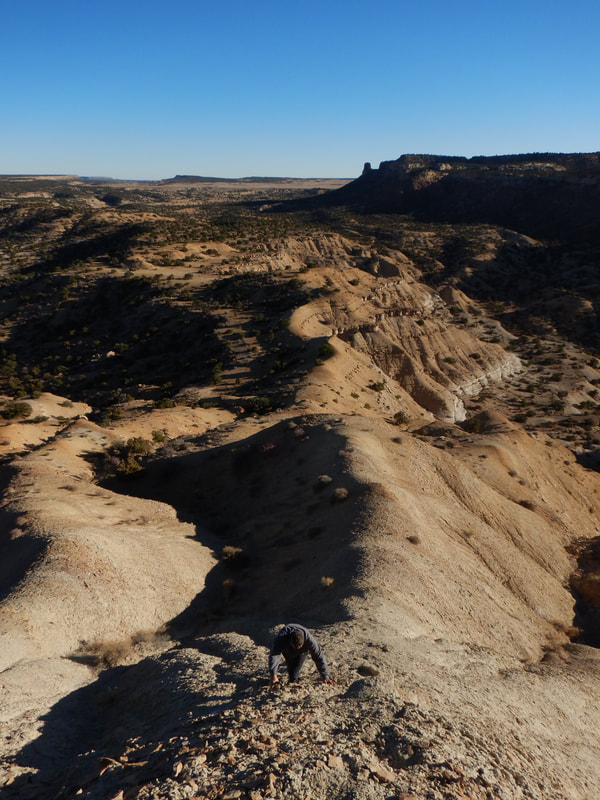
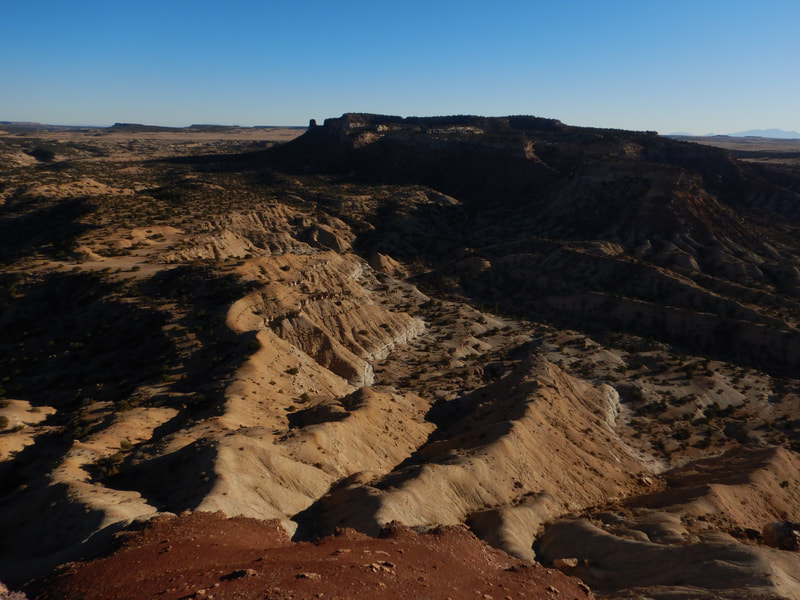
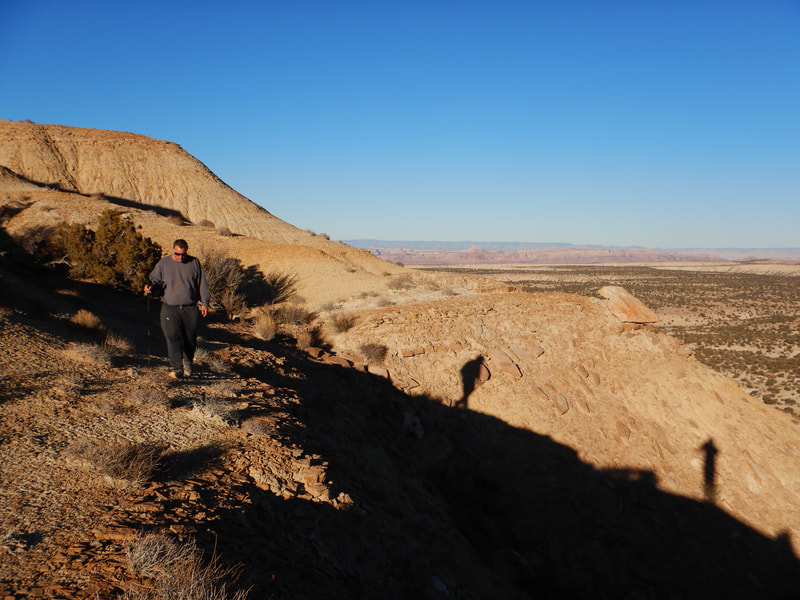
We returned to exit 131 and then continued north along an unnamed road (not on Google Maps) that turns off from the main Temple Mountain road 210 yards from the end of the offramp on the north side of the freeway. This road goes for 2.6 miles before reaching the base of the south face of The Wickiup. Initially it heads north, then northwest and as it descends into the valley between The Wickiup and Indian Benchmark it curves generally more west. The first mile is suitable for tough passenger cars, but the final 1.6 miles are definitely 4WD, and no vehicle should drive this road if it's wet. With 2WD, just park at the open grassy field where there is a junction with another road that corves sharply right a mile up and walk the rest of the way to the base of The Wickiup. With 4WD, continue until the road heads due west along the base of the south side, and take a small side road that branches to the right which offers great parking (elevation 6500 feet). There are two main washes that drop south down all the way down to the road. We went up the eastern one of the two and walked north into the small basin, which had an interesting rock formation at the end right where the grade steepened. We ascended loose dirt to reach the crest of the ridge just west of the big ridge that formed the eastern wall of the basin we hiked up. Note there are numerous ridges dropping from the summit, and many of them are usable to reach the red colored summit area. I believe the one we used was really straightforward though.
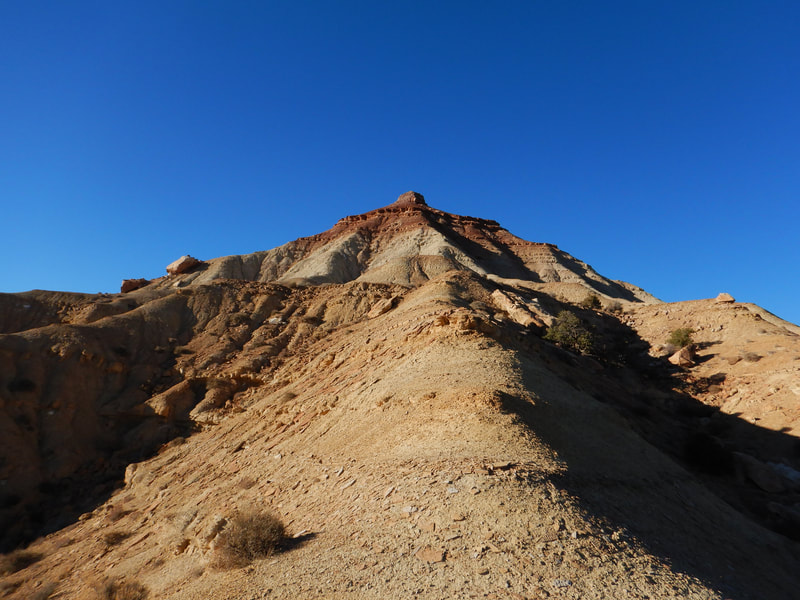
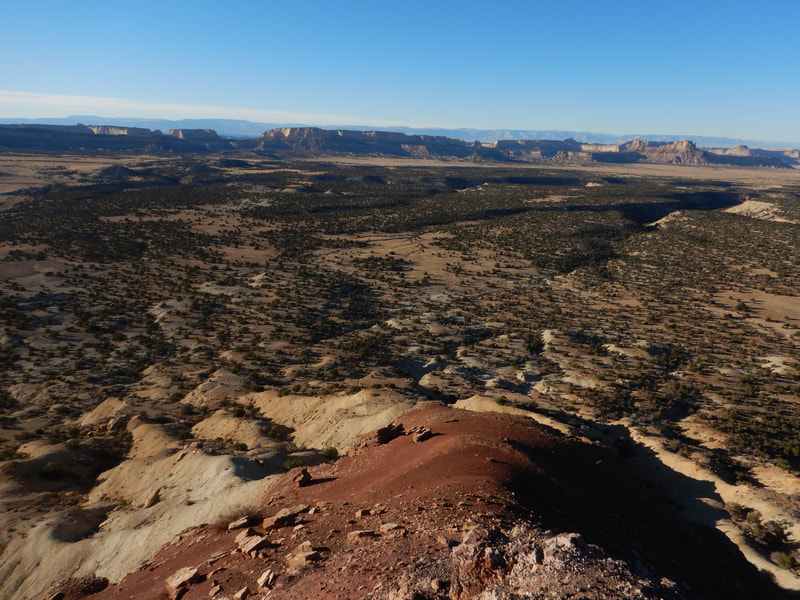
The smaller ridge we started up eventually connected up to the larger ridge to the right and we made quick work reaching the deep red summit area. It's was clear very few people climb this thing due to the total lack of footprints, at least on our route. With more popularity, it won't take long before this mount of dirt gets very loose and erosion skyrockets. The summit itself is a tiny nipple from afar but is a 15 foot high pile of absolute crap rock (different than the darker red just below it). The easiest way to finish this final section is from the northeast side. The south side is steeper, and although it looks climbable without much trouble, the rock is truly awful. From the top, where there isn't much room for more than a couple people, the view east towards the backside of the San Rafael Reef steals the show, especially in the later afternoon lighting like we had. In an effort to still have time to drive partway back before it got dark we hurried down and Scott drove me back to exit 131 where I started back to Denver, completing my drive back from Nevada.
The smaller ridge we started up eventually connected up to the larger ridge to the right and we made quick work reaching the deep red summit area. It's was clear very few people climb this thing due to the total lack of footprints, at least on our route. With more popularity, it won't take long before this mount of dirt gets very loose and erosion skyrockets. The summit itself is a tiny nipple from afar but is a 15 foot high pile of absolute crap rock (different than the darker red just below it). The easiest way to finish this final section is from the northeast side. The south side is steeper, and although it looks climbable without much trouble, the rock is truly awful. From the top, where there isn't much room for more than a couple people, the view east towards the backside of the San Rafael Reef steals the show, especially in the later afternoon lighting like we had. In an effort to still have time to drive partway back before it got dark we hurried down and Scott drove me back to exit 131 where I started back to Denver, completing my drive back from Nevada.
Proudly powered by Weebly
