eagle plume tower - 5700' - eagle feather (south face) class 5.10b
February 2014
My Eagle Plume Tower and Eagle Feather Route Pages on SP
Eagle Plume Tower Overview
Overview
Eagle Plume Tower is probably the premier tower in the Valley of the Gods area in extreme southeastern Utah. Offering three established routes, the South Face "Eagle Feather" route is one of the few that can be climbed without aid and is probably the safest, most easily protected route in the entire valley. Although this tower is labeled as Castle Butte on the USGS maps, it's known as Eagle Plume Tower to climbers. The nearest towns are Bluff and Mexican Hat which aren't much but motel, gas and food services are found in each. The Valley of the Gods road makes its near 180 degree loop around the tower making it easy to find. If coming from the east side of the loop, you will see the daunting north face first, then ascend to a 5,140 foot saddle west of the tower then turn south and descend slightly where the south face will come into view.
The tower has about 560 feet of prominence with 330 feet of that being the main, vertical section of the tower. All the routes on Eagle Plume have a short 20 minute approach up the talus cone. This is an excellent tower to climb if you are newer to desert climbing or want to practice aid climbing as it seemed like I could place a cam anywhere I wanted. Solid cracks were easy to come by the entire route. Despite this fact, approach this tower with respect as it is still a desert tower with plenty of objective hazards.
Note that the USGS maps label this tower as Castle Butte
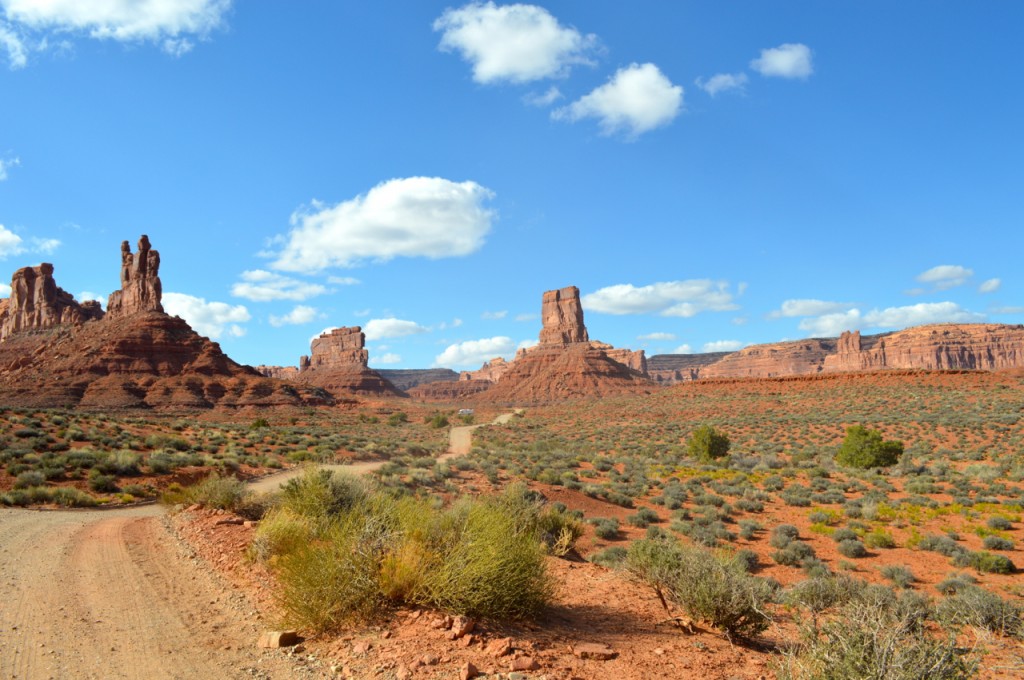 Eagle Plume Tower (Center) from Valley of the Gods Road Eagle Plume Tower (Center) from Valley of the Gods Road |
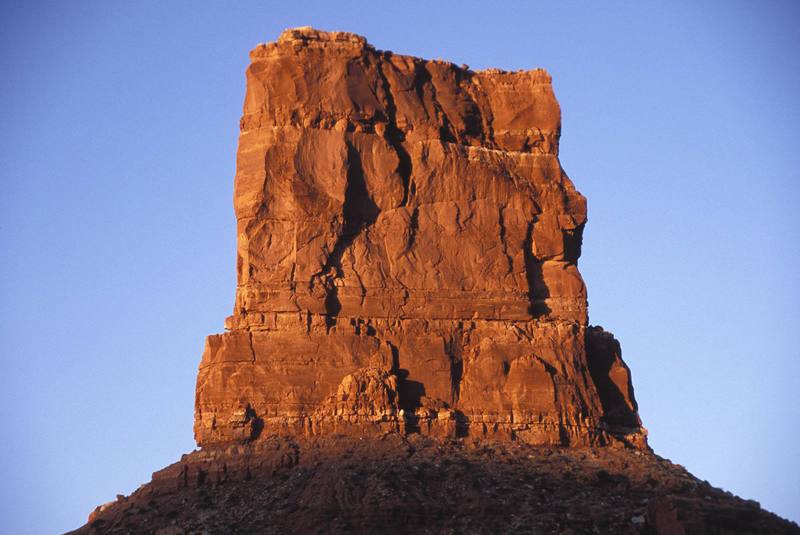 The north face of Eagle Plume Tower The north face of Eagle Plume Tower |
Getting There
From Bluff, Utah continue west on US Highway 191 to the junction with Highway 163 and continue straight, staying on 163. Drive over Comb Ridge and continue roughly nine more miles and turn right onto the Valley of the Gods Road. There is a sign so locating the junction is easy. The gravel road crosses a stream right away which will be dry most of the time but after a storm may be impassible. Continue north on the good road all the way until it begins curving leftward and curves back to the south. Pass by a handful of awesome looking towers including Petard Tower which has an amazing overhanging summit block. Eagle Plume Tower is located in the apex of the large curve in the road. About 8 miles from Highway 163 the road heads over a small saddle just west of Eagle Plume Tower. For the south face route, descend slightly and park at a pull-out where the full south face is visible.
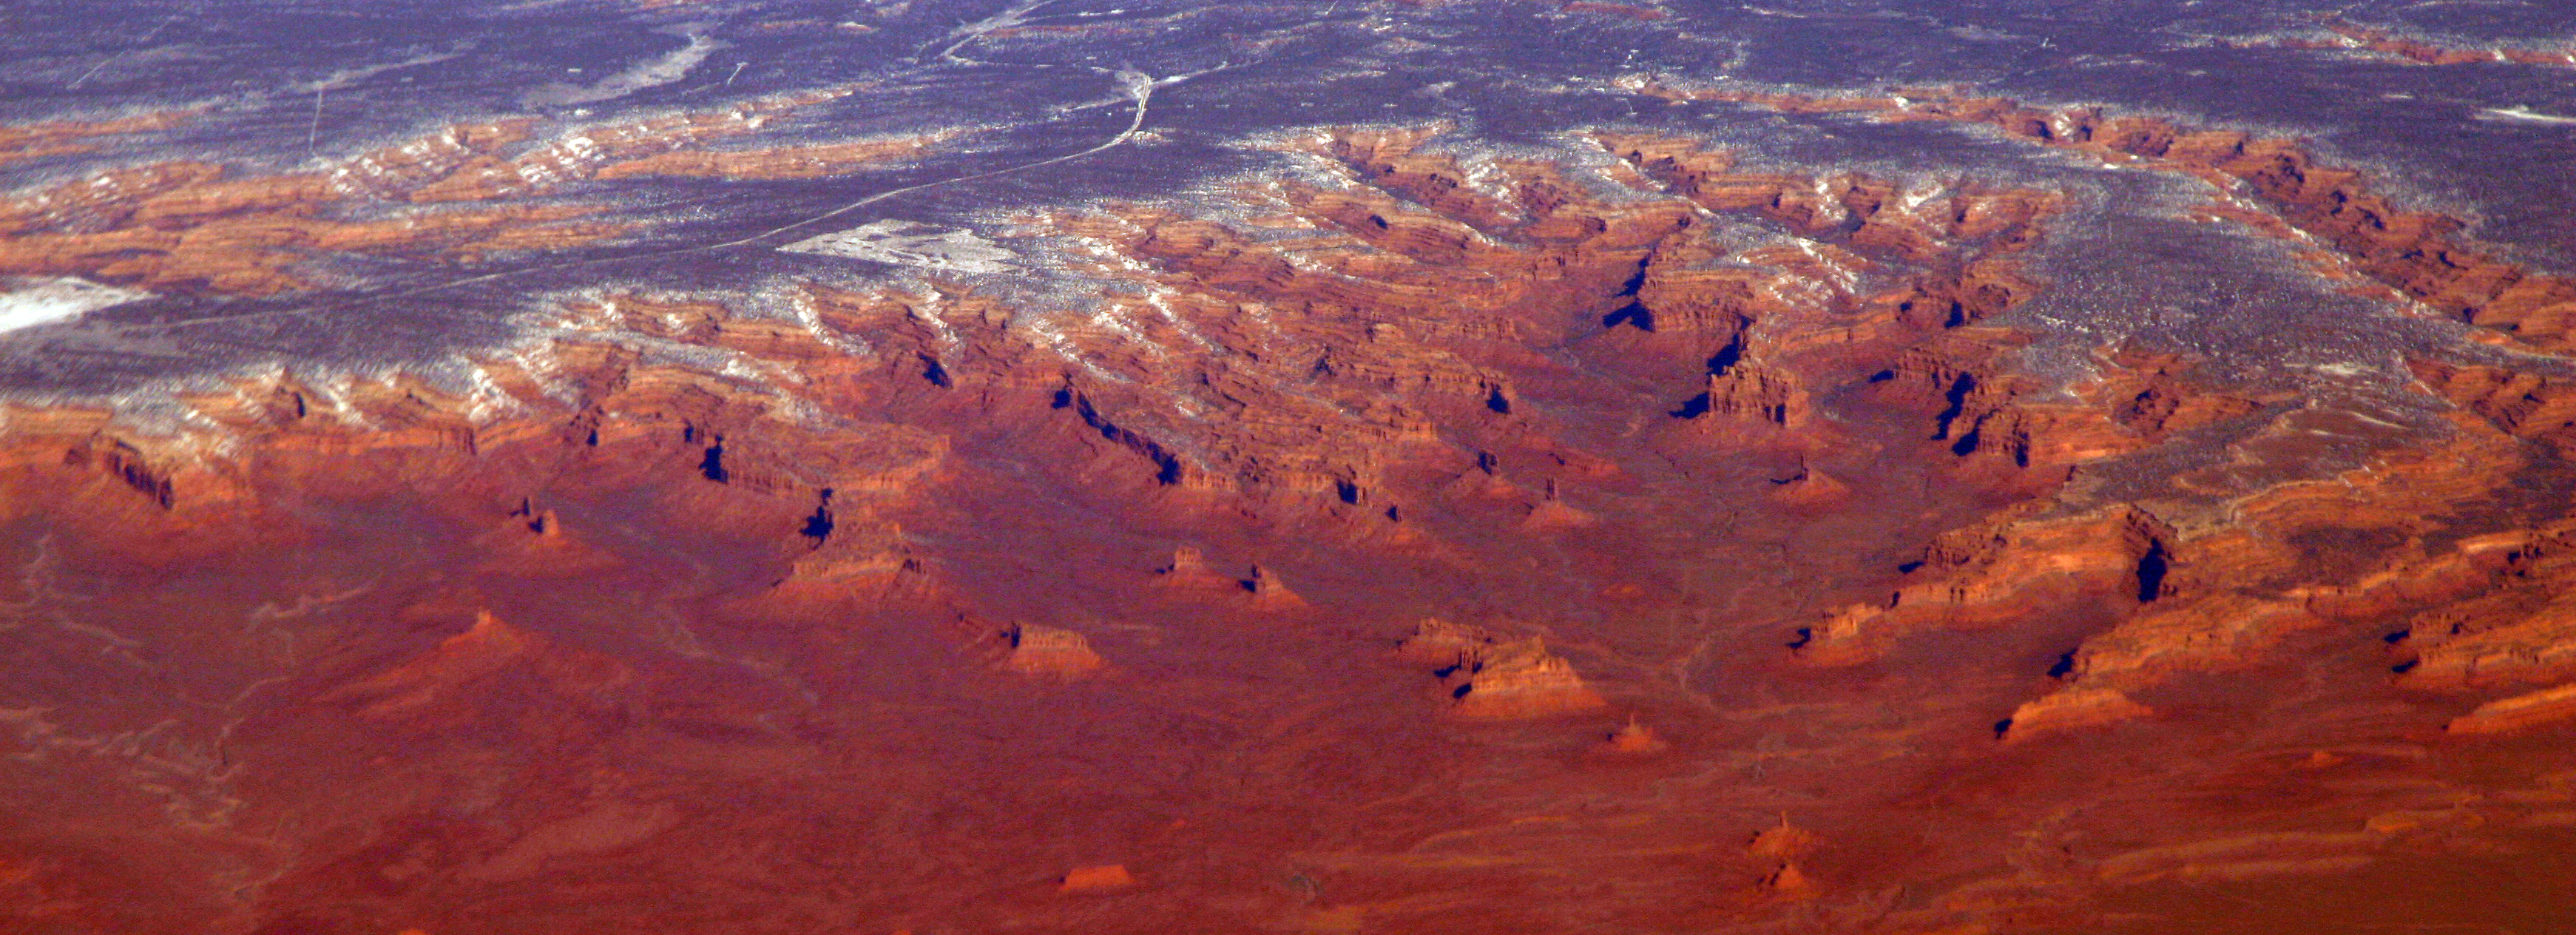 Aerial View of the Valley of the Gods
Route Options
Described below is a table depicting the three established routes on the tower. The South Face route is described in more detail on the corresponding route page.
| Route | Photo | Rating | Brief Description |
| South Face |
 |
5.10b | This is the standard route on the tower and offers fantastic climbing. This is one of the only free routes in the valley and has great protection the entire route making it a good first route in the area. It's also a good route to practice aid climbing. The route is in a fantastic setting with steep climbing to a beautiful summit. Being on the south side of the tower, it's commonly done in winter. |
| Fuzzy Crockpot |
 |
5.8 A2+ | This is a thin route on the shady north side of the tower. The first pitch is the crux and requires some aid climbing. A death block supposedly resides right above the first belay anchor. |
| Ardbeg, Vaca & Beyond |
 |
C3- | This route is a strange one being entirely a clean aid route. No free moves and no bolts. It's located on the far right side of the south face on the arete. Some white graffiti marks the start of the route. Four pitches of mostly good rock bring you to the summit. |
Camping/Red Tape
The entire Valley of the Gods area does not lie on the Navajo Nation lands so camping is limitless. There are many places along the Valley of the Gods Road to pull off and camp or even park an RV. There is no red tape to camp or climb so enjoy the area! More car camping can be found along Comb Wash which drains southward along the western base of Comb Ridge. County Road 235 leaves Highway 163 just west of Comb Ridge and passes by numerous camping spots.
 Petard Tower from the road Petard Tower from the road |
Map
 Eagle Plume Tower Location Map
When to Climb
Eagle Plume Tower can be climbed at any time of year however summer would be miserably hot and borderline dangerous. The weather is typically always stable and warm so it can be climbed it winter. It's probably best to wait until March to climb on the north face though as it does get below freezing at night in winter and stay cold in the shade.
External Links
Eagle Feather Route Description
Overview
This is a great route with superb climbing. Five short pitches totaling about 340 feet of climbing take you to the narrow and exposed summit. Since it's on the sunny south face, climb this route in winter sometime for complete solitude! The first pitch has the only poor rock on the route and has some off-width thrashing while the upper four pitches offer various types of climbing from thin finger cracks, thin hand cracks to some chimney climbing. The crux of the route is at the end of the second pitch where a 10 foot thin finger crack guarded by a small overhang takes you to the second belay ledge.
South Face route topoGetting There
Park at a small pull-out along the Valley of the Gods Road shortly after the road crosses a small dry wash (if coming from the east side of the loop). You should be able to see the entire south face head on and the route is the obvious cleft cutting down the middle of the face. Begin hiking straight towards the face and cross the small dry wash. Work your way up the 300 foot talus cone on the path of least resistance. Lots of loose rock is found but the approach is short and takes only 20 minutes or so.
Route Description
| Pitch | Photo | Rating | Description |
| 1 |
 |
5.8 | The first pitch starts just to the right of center of the south face and heads up the obvious off-width pod and up the dirty 5.8 wide crack to a small ledge. You can continue up the 5.7 off-width chimney from the small ledge right to a bunch of slings marking the final rappel anchor. If you don't want to thrash your way up the chimney, you can traverse a few feet left and continue up a left facing 5.8 dihedral with a wide hands crack (and more rope drag). The final move has a chicken wing and mantle to the big ledge. Once on the huge ledge, make an anchor in one of the solid cracks on the wall rather than using the slings at the top of the chimney. This is the longest pitch on the route at around 90 feet. The remaining pitches are all about 50-60 feet long. |
| 2 |
 |
5.10b | The second pitch starts up an easy chimney to a short thin hands crack. Above that, mantle onto a tiny ledge and traverse a few feet right until right below a thin finger crack. This is the crux of the route although it is short. Work your way onto the finger crack by surmounting a small overhang and climb 10 feet to a large ledge with two solid pitons. This marks the second belay ledge. |
| 3 |
 |
5.9 | The third pitch heads up the obvious chimney crack above the belay ledge. This pitch is fairly dirty but not as bad as the first pitch. Smear and jam you feet on the many features available while keeping your hands as solid as possible. The hand and fist jams aren't great. Top out onto a small ledge with an excellent anchor consisting of three or four pitons and plenty of slings. |
| 4 |
 |
5.10a | The forth pitch climbs an excellent, solid thin hands crack. Start just above and to the left of the belay and climb the dihedral crack which has a tough start. At first the crack is sub-vertical but ends at a short overhang before you emerge onto a bedding seam where the rock deteriorates and the climbing eases significantly for a few feet. Scramble up a loose 15 feet to the large ledge at the base of the final pitch. Add a sling to the double piton anchor and belay. I thought this was the hardest pitch as it was sustained 5.10 climbing and my big hands made it much harder.Note that the third and forth pitches are commonly combined |
| 5 |
 |
5.9 | The final pitch climbs the stellar and obvious right facing dihedral for 50 feet to the summit. Although it's rated 5.9 I felt the start was a little harder. Thin hands at the beginning lead into better hands and enough features for your feet for good rests. The final mantle onto the summit will suck the remaining energy you might have. Enjoy the beautiful summit! |
Descent
Descending the route is actually fairly simple. With a 70 meter rope there are three rappels. Locate a bunch of slings around one of the large blocks about 10 feet to the right of where you topped out on the summit. This is the first rappel. Make a long rappel to the bomber anchor at the top of the third pitch. Don't rappel from the pitons at the base of the final pitch. Make a second long rappel to the huge ledge atop of the first pitch. Finally rappel the first pitch using the slings at the top of the chimney. This rappel has an awkward start and squeezing through the chimney can be a challenge.
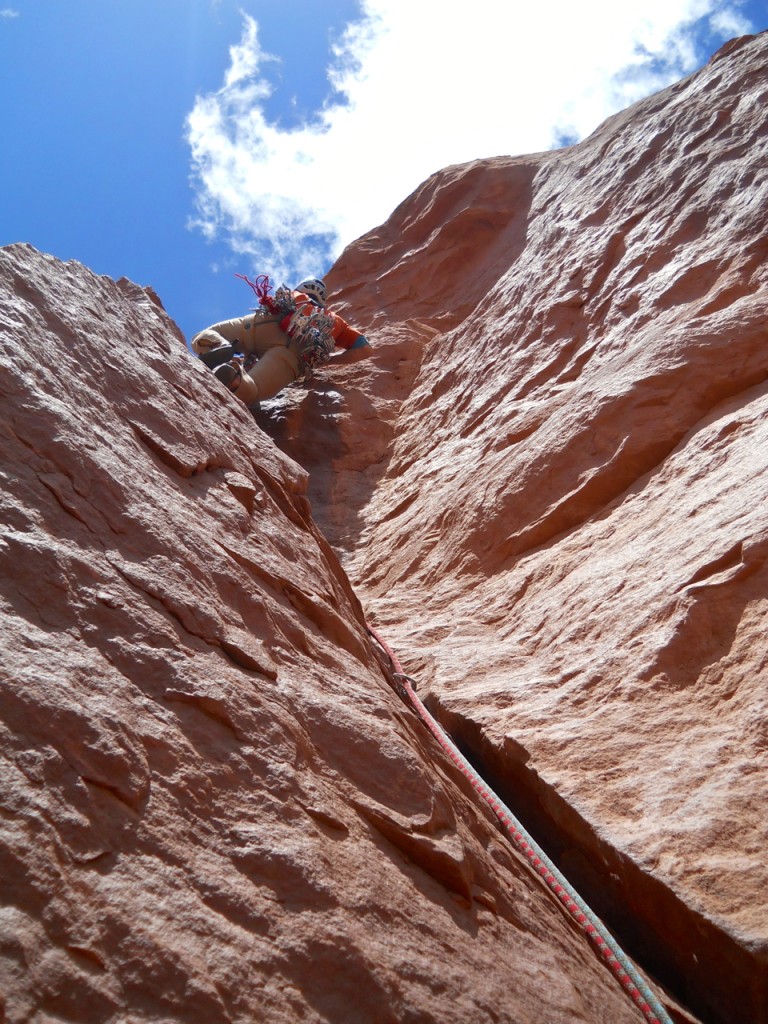
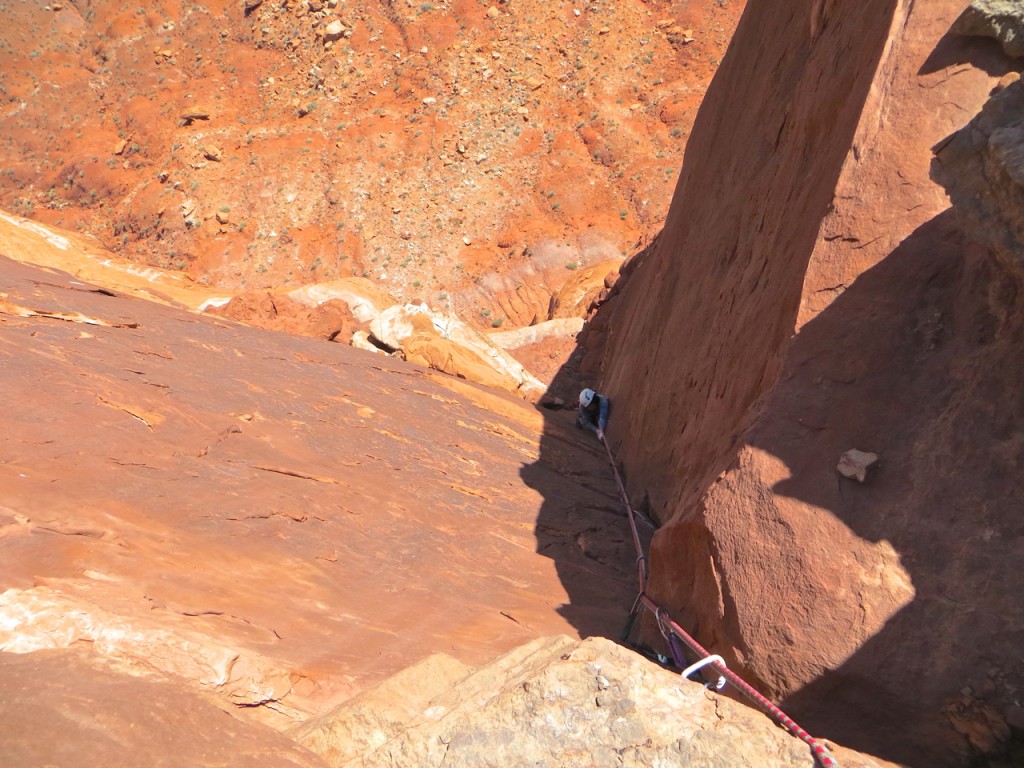
 Chris on the second rappel
Required Gear
Bring a double rack of BD Camelots from 0.3 - 3 inches. Also have some smaller stuff like Metolius 0-1 Mastercams. Helmets are a must. 70 meter rope
Summit View
 Eagle Plume Tower Summit View to the north