Introduction
There are many ways one could conceivably insulate a van, and we considered a handful of options however due to the ease of installation, and excellent sound buffering and moisture resistance in addition to the thermal properties, we decided to use Thinsulate as our primary insulating material. It does have a fairly steep price tag but since both Elaine and I have good jobs at the moment, it was affordable.
The design we have in mind for a proper insulation system utilizes the Thinsulate to buffer the exterior metal van panels, and keep exterior sound out, and interior heat in, while still effectively working in the event of moisture/condensation build up (hopefully avoidable though). However the overall insulation system will go beyond this. For a proper insulation system to work best, there needs to be a sealed air pocket between the living space, and the outside world. This air space will act as the real thermal barrier between the van interior and exterior. To accomplish this, we will also be adding 3/8" thick Reflectix sheets to the interior metal panels of the van directly behind the walls. These sheets will be entirely sealed as much as possible, preventing any airflow from the living space, and the gaps between the van panels where the Thinsulate sits. Therefore, the Thinsulate acts to keep these air gaps between the van panels warmer, buffering it from the most outward van panels (which will be in direct contact with outside air), and the sealed Reflectix sheets will keep this air gap separate from the interior. The Reflectix also has built in sealed air bubbles that add an additional air gap, further enhancing the insulating effects.
With this system in place, we hope to be able to keep the van either warm, or cool, depending on whatever the outside air temperature is. In winter, with only occasional use of our heater, we hope to keep the inside temperature comfortable. In summer, we hope to keep the inside cool enough to avoid using an AC. This is all an idealized scenario however, and we realize there are places where heat transfer will be very active (ie. the windows), and we will also make window covers to help mitigate this. This article will describe only the Thinsulate Installation, which was actually quite straightforward.
Materials Used
- 3M Thinsulate 5' Wide by 50 Linear Foot Roll (US$575 Shipped from Hood River, Oregon to Seattle)
- Four (4) Cans 3M Contact Spray Adhesive (US$12.95 Each from Home Depot Online Store)
- Four (4) Cans 3M Contact Spray Adhesive (US$12.95 Each from Home Depot Online Store)
Total Material Cost: $627 US Dollars
Tools Used
- Measuring Tape
- Good Pair of Scissors
- Screwdriver (For side door panel removal)
- Vice Grips/Pliers (For front overhead storage panel loosening)
- Socket Set (For front overhead storage panel loosening)
- Good Pair of Scissors
- Screwdriver (For side door panel removal)
- Vice Grips/Pliers (For front overhead storage panel loosening)
- Socket Set (For front overhead storage panel loosening)
Time Spent on the Job: 6 Hours
Step 1 - Measure Dimensions of Each Location to be Thinsulated!
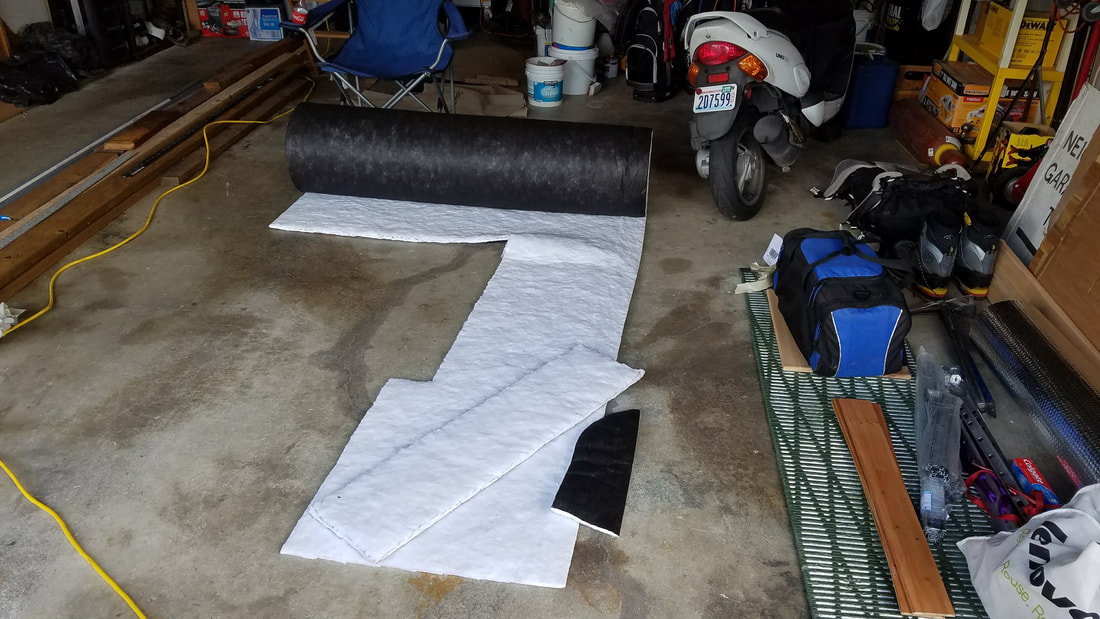
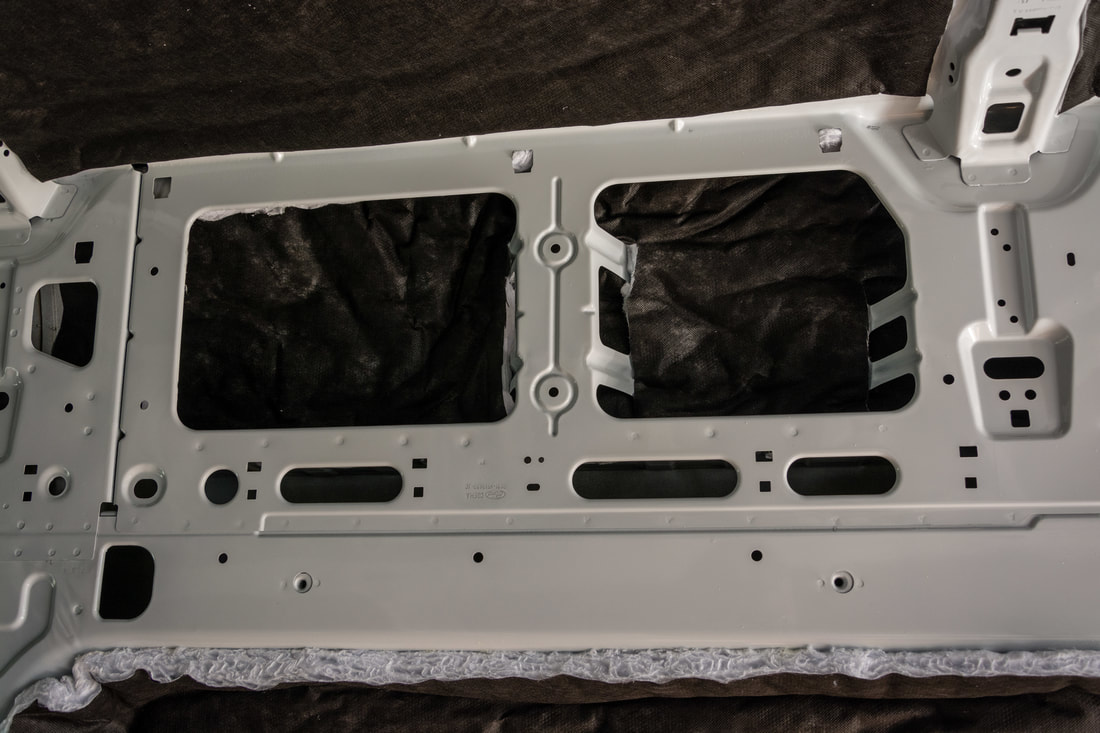
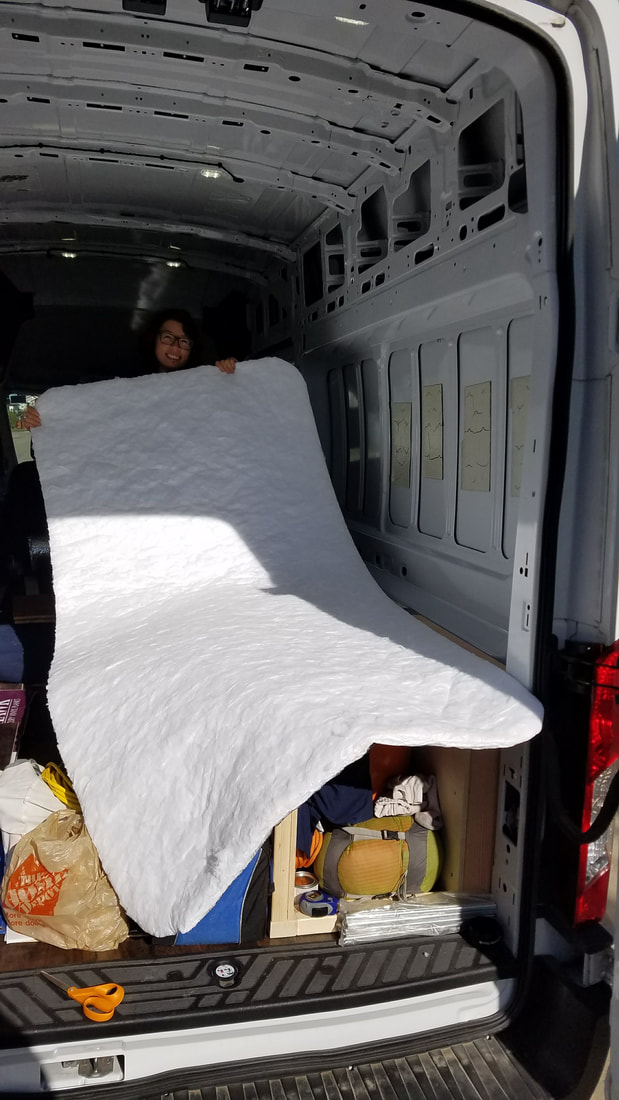
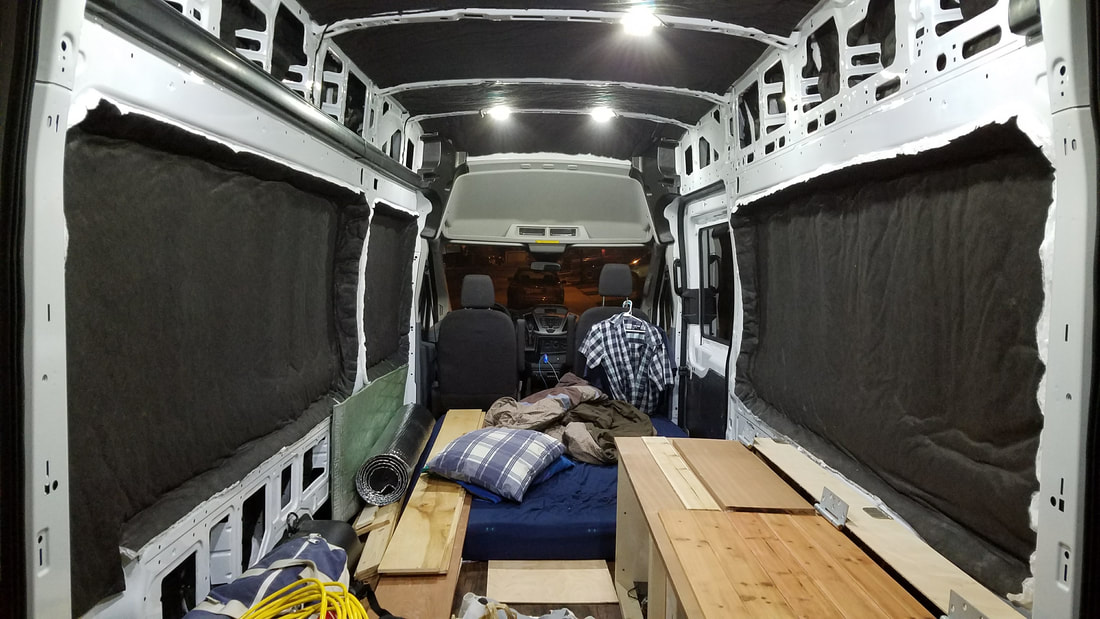
This is actually as easy as it sounds. We simply measured each spot where we needed to place the Thinsulate, starting on the rear bottom. The bottom panels were fairly easy to break out, depending on where the stiffener connections were made. We did think over exactly how to break up the Thinsulate roll in order to limit the amount of waste, and use every bit of it. It was nice to have the ceiling be exactly 5 feet wide, which matched the width of the roll. The large open panels in the middle used the biggest pieces of Thinsulate, while the top portions of the side panels used the narrowest pieces. We made sure to cut extra to allow each piece of Thinsulate to wrap around the top and bottom of the 3.5 inch deep spaces to allow it to stay in an upright position, and cover more metal area. To ease the process, we focused on one spot at a time.
Step 2 - Cut Each Piece
Once we measured for a particular spot, we cut the piece off the Thinsulate roll using a good pair of scissors, keeping a keen thought regarding how to best cut the roll to minimize waste.
Step 3 - Apply 3M Contact Spray Adhesive if Needed
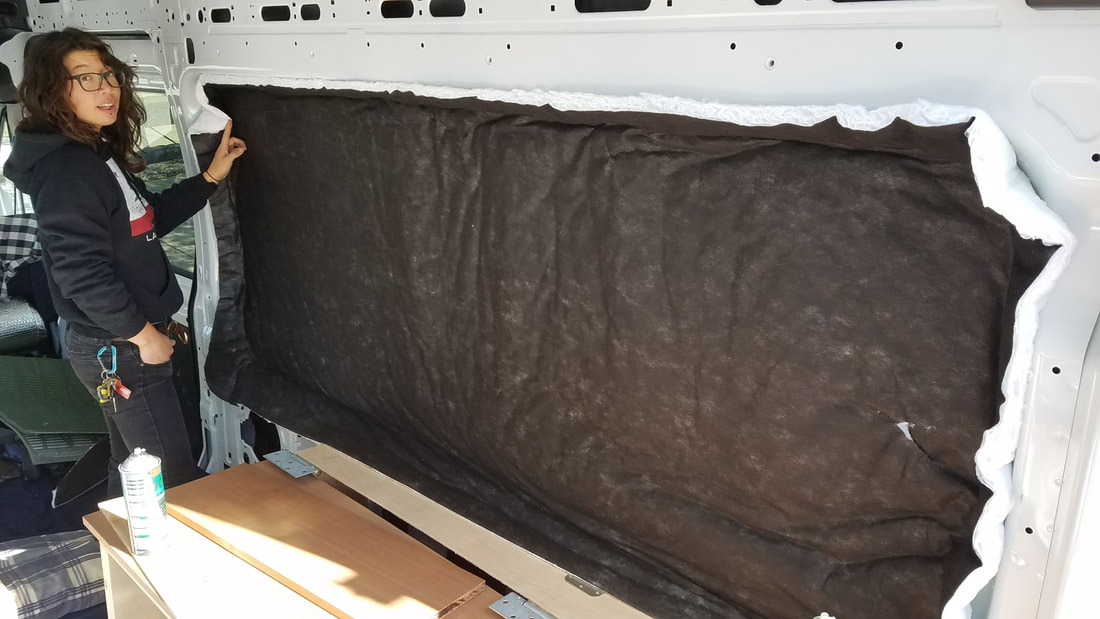
We then determined if the piece required spray adhesive. Many of the smaller pieces we stuffed into the gaps between the van panels would easily stay in place without adhesive, or in just a few spots. However for the large pieces, the adhesive was definitely needed. To properly use the contact spray adhesive, we sprayed a liberal amount of adhesive to both the white face of the Thinsulate piece, and the metal van panel, making sure to cover the entire area of both surfaces. We also applied extra adhesive to the edges. Then we waited roughly 1 minute for the adhesive to become tacky and carefully applied the Thinsulate to the panel, pressing it on all around. We determined waiting a minute, rather than 30 seconds allowed for a better contact, but that may have been because it was fairly cold the day we installed our Thinsulate.
Step 4 - Apply Thinsulate to Van Panels
Nothing really to add here. However for the gaps on the top and bottom of the side walls, there were many lateral stiffener pieces we had to cut slots in the Thinsulate for it to fit around, and carefully cram it in each crevice without ripping it. This was tricky in some places where we tried to cram a piece that was too long, and wrap it around too many stiffeners. Luckily Elaine has tiny hands and was able to help out a lot here!
Step 5 - Loosen Overhead Front Storage Panel
The front overhead storage panel above the two seats was able to be lowered just enough to put a piece of Thinsulate between it and the metal van panel that extends above the windshield. With a pair of pliers I was able to push the three little black brackets forward enough to release them from the orange plug. It was tricky, but I managed not to break any of them. Then we could carefully push a piece of Thinsulate in the gap, which nicely was about the same thickness as the Thinsulate so no glue was needed. Once inside, we re-connected the panel. We also loosened the small bolts that held the sides of the overhead panel (near the top of each side door) with a small socket, but I realized this wasn't really necessary, as the top panel was flexible enough once the clips were disconnected. We also didn't need to remove the black foam blobs on either side, which was nice.
Step 6 - Insulate the Side Door
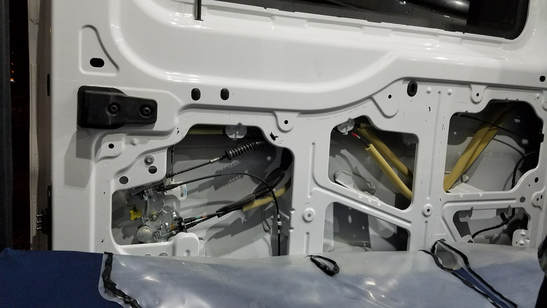
The sliding side door has a black cover panel that we could remove by using a flat head screwdriver to pull the center of each black push pin out. Then we slowly pried the panel out, popping one pin at a time until reaching the bottom. To fully remove it, we removed the 4 star head screws along the base with a short screwdriver, then we pulled the clear plastic cover off with a few solid jerks. The black goo should stay on the clear plastic, and was easily re-applied when finished.
With the innards of the side door now exposed, we used the last pieces of our Thinsulate to fill as much of the side door as possible. There are many components in here, and at all different directions, which proved difficult to fit insulation around. We however ran out of Thinsulate after only filling roughly 70% of the area so that was that. We re-applied the clear cover and the black panel and went to bed since it was late, and cold!
With the innards of the side door now exposed, we used the last pieces of our Thinsulate to fill as much of the side door as possible. There are many components in here, and at all different directions, which proved difficult to fit insulation around. We however ran out of Thinsulate after only filling roughly 70% of the area so that was that. We re-applied the clear cover and the black panel and went to bed since it was late, and cold!
Proudly powered by Weebly
