Overview
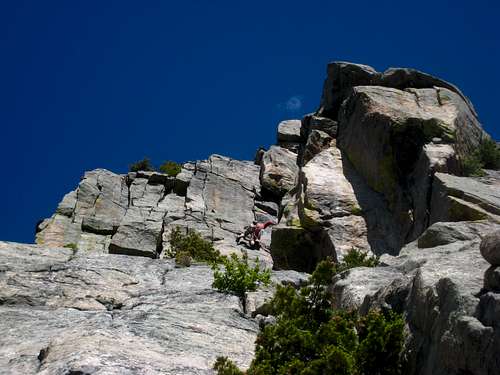
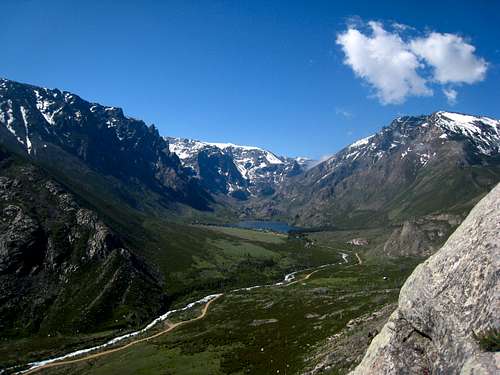
This climb is perhaps one of, if not the best easy-moderate trad climb in Montana. Boasting great rock, fun climbing and beautiful scenery this route is worth doing. Many climbers looking to start alpine rock climbing will do this climb to get a good feel for being completely on your own in the mountains and having to place protection and anchors on your own. Located in the stellar East Rosebud Valley, the scenery is spectacular.
Getting There
From Red Lodge, Montana take SH 78 northwest out of town and follow it for 20 miles to the tiny town of Roscoe. Turn left (west) onto East Rosebud Creek road. Follow this road as it heads through Roscoe and heads towards the Beartooths. The road turns to dirt for awhile, then turns back to pavement where it enters the national forest. When the road turns to dirt a second time, you will cross a bridge to the north side of the creek and continue another quarter to half a mile until you see the obvious sloping wall rising off the right side of the road. Park at the 2nd pullout after the bridge on the left side of the road.
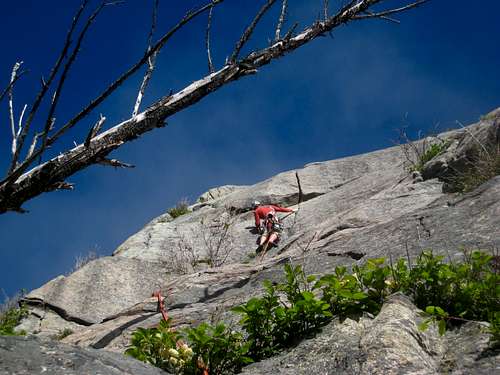
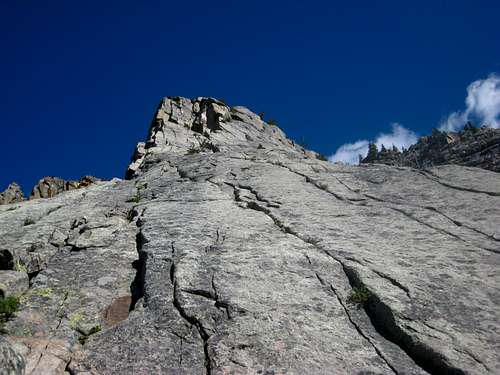
The route is easily discerned from the surrounding blocky and broken rock as a smooth face of rock heading straight up. Scramble up the glacier polished rock apron and continue on to the bottom of the route which starts on top of a little rock outcop at a broken snag. The approach has numerous deadfall to navigate and takes about 45 minutes.
The Route
The route can be done in as little as three pitches or as many as five depending on the length of your rope and how long you make each pitch. If you have a 70 meter rope, it's easiest to make 3 long pitches.
Pitch 1 - 5.8 - 65 meters
Start off by climbing up to the very obvious ledge at the bottom of the ramp. Start up the obvious crack, climbing through a small, two foot roof (Crux of first pitch...1 maybe 2 moves) and onto the main section of the ramp. Continue up the ramp on easier terrain as far as you want. There are many places to set a belay anchor.
Pitch 2 - 5.4 - 70 meters
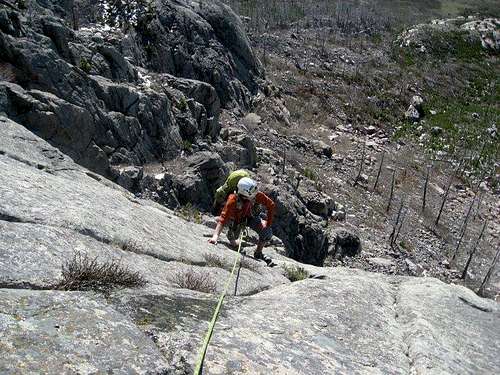
The second pitch continues up the ramp where there are many cracks, features and great rock. The climbing is easy and never exceeds 5.4 if you stay on the easiest line. Stretch the rope and locate one of many excellent belay ledges. The ledge just above a dead snag about 30 meters below the final headwall is a great place to belay. The climb is very low angle somewhat reminiscent to the Flatirons in Boulder. Note that many parties will make 3 pitches out of the main part of "The Ramp" however the entire ramp was about the same difficulty. Other parties will simply simul-climb the whole ramp as well. This part can be broken up however you choose. Note the topo pictured below states the middle 3 pitches which make up the main section of the ramp are in the 5.5 to 5.6 difficulty range. I didn't think it was anywhere near that tough and even my 5.4 rating for the actual ramp is a stretch.
Pitch 3 - 5.8 - 55 meters
The final pitch has a couple variations. The best way is to locate the large left facing dihedral and continue up the ramp to its base. Climb into it and make a couple fun 5.8 moves over a small overhanging block and continue up to the top where a tree can be used as an anchor.
Descent
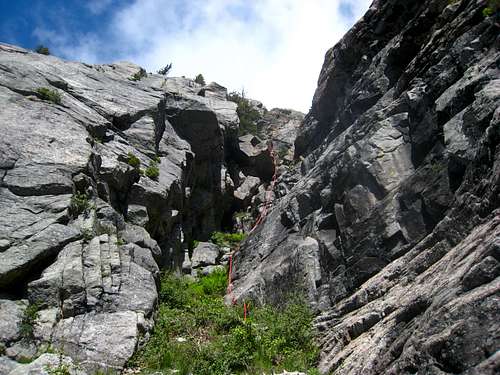
Once at the top, traverse to climbers right past a few cairns until you can begin hiking down loose talus. When the terrain cliffs out, locate a nice tree anchor with slings and make a 25 meter rap down into the deep gully. A second rappel of about 20 meters on another tree in the gully takes you down the final drop. After the two rappels, continue scrambling down the gully and once at the base of the route, traverse back to the dead snag you started at. The final section of the descent has a couple exposed 4th class drops in the 20 foot range so don't let your guard down.
|
|
|
|
Gear Needed
Take a 60 or 70 meter rope, set of nuts and cams to 3 inches. Longer draws are good to have as well. As of June 2014 the rappel anchors were great but having some extra webbing is always good.


